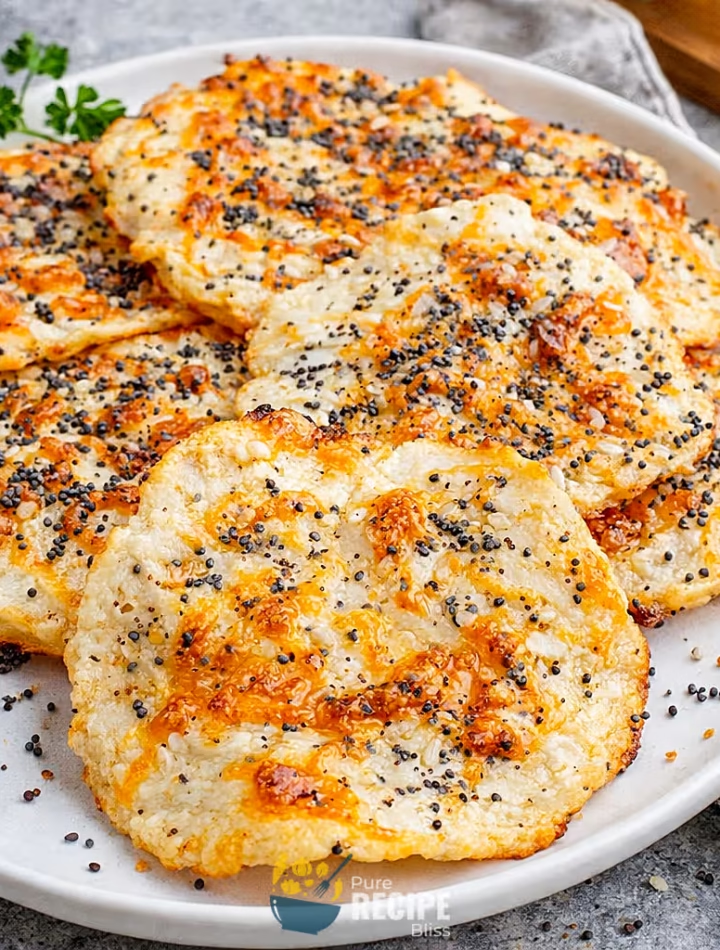
I recently started baking something called Cottage Cheese Chips, and they surprised me with how quick they are to put together. You only need a few minutes to scoop, flatten, and season, and then the oven takes care of the rest. They come out light, crunchy, and a little salty, which makes them a nice change from regular chips.
I usually reach for them when I want a snack in the afternoon or late evening, because they don’t feel heavy and they give me that crisp bite I’m craving. They’re simple enough that I can make them without planning ahead, and that’s why I keep coming back to them.
What is Cottage Cheese Chips?
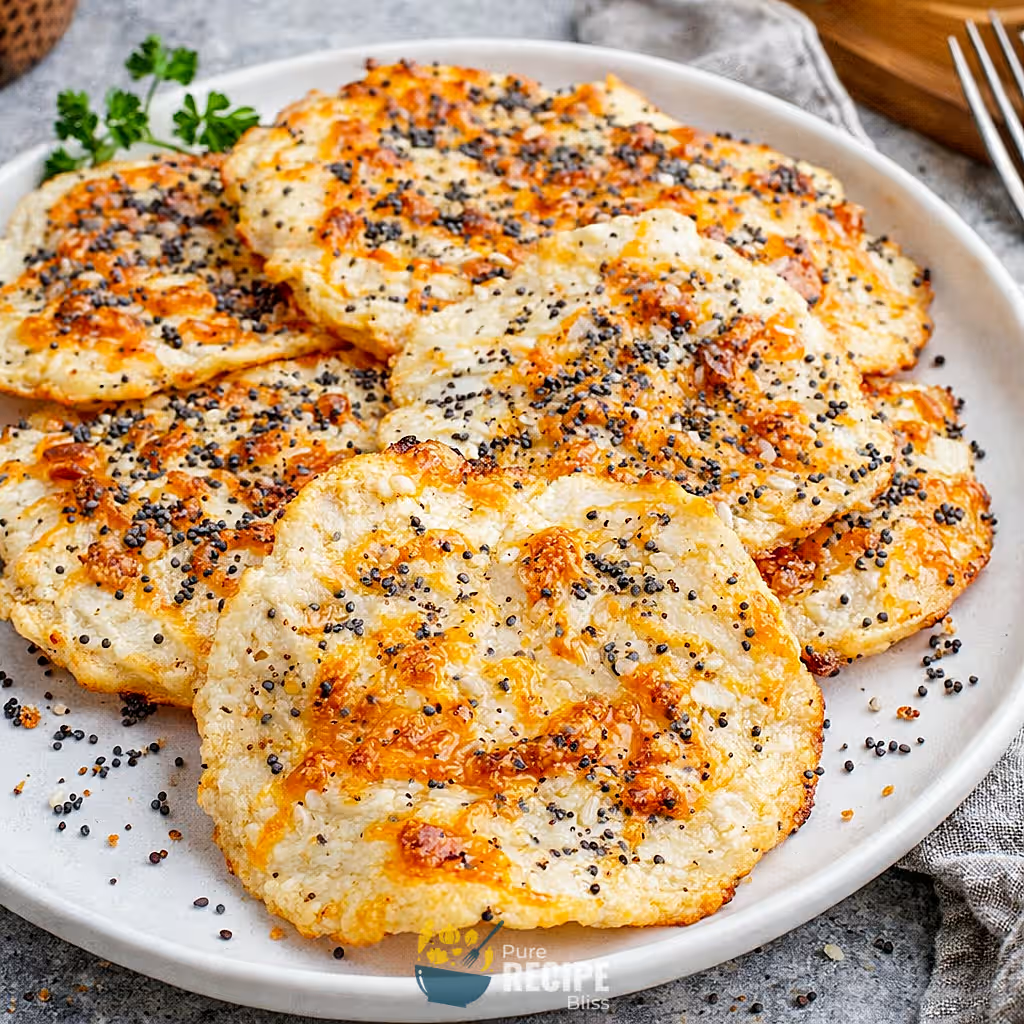
Cottage Cheese Chips are basically little baked crisps made from cottage cheese with a bit of shredded cheese and seasoning on top. When they go into the oven, the moisture cooks out and they turn into crunchy bites that feel a lot like chips but with more protein.
They’re usually eaten as a snack, but I’ve also seen people serve them alongside dips or even as a crunchy side with lunch. They don’t really come from any particular food tradition, but they’ve become popular because they’re quick to make and fit into low‑carb or high‑protein eating styles.
Why You’ll Love This Recipe:
- Quick to make: You don’t need much time at all because the prep is just scooping and flattening, and then the oven does the rest, so it feels easy even on a busy day.
- High in protein: Each chip has a good amount of protein compared to regular chips, which makes them more filling and keeps you satisfied longer.
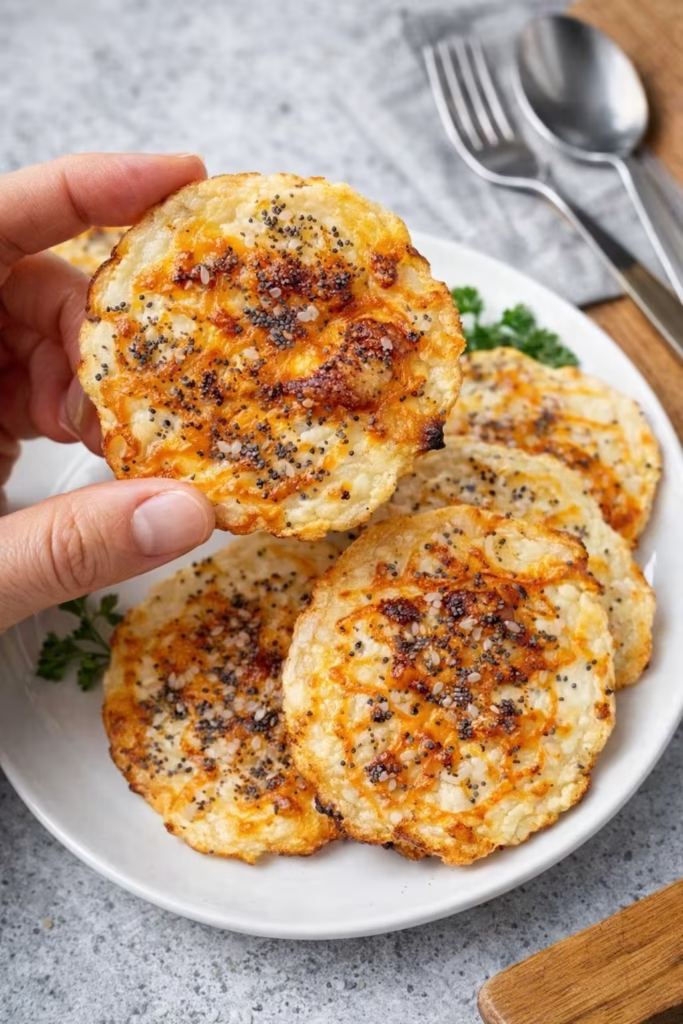
- Crunchy texture: They actually turn out crisp once cooled, and I noticed they stay crunchy if you spread them thin enough, which makes them fun to snack on.
- Easy to change flavors: You can swap the seasoning or cheese depending on what you have at home, and I’ve tried paprika once which gave a smoky taste that I liked.
- Better snack option: They feel lighter than store‑bought chips, and I like that I can eat a few without feeling weighed down, so they work well when I just want something salty.
- Kid‑friendly: I tested them with my niece, and she liked dipping them in salsa, so they can be a good option if you want a healthier snack for kids too.
Ingredients Needed:
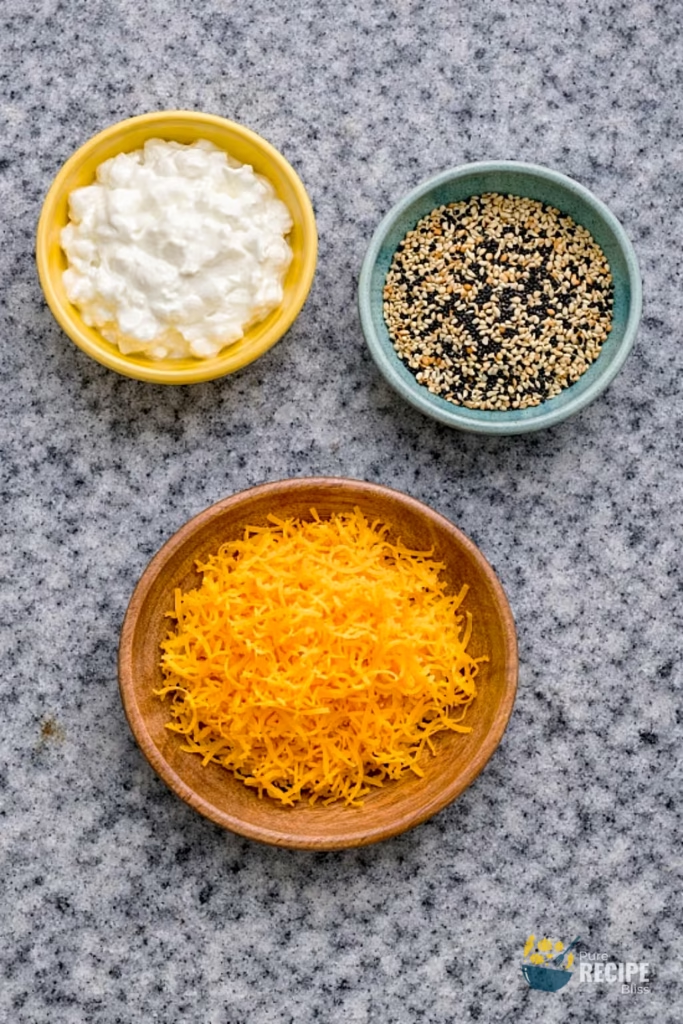
- Cottage cheese: You’ll need about one cup, and I’ve noticed full‑fat holds its shape better, while low‑fat works if you want something lighter, so it really depends on what you prefer.
- Cheddar cheese: Around a quarter cup of shredded cheddar adds sharp flavor, and I sometimes switch to Parmesan when I want a saltier taste, so you can easily change it based on what you have.
- Everything Bagel seasoning: Two tablespoons give a nice mix of flavor, but if you don’t have it, I’ve tried garlic powder or smoked paprika, and both worked fine, so it’s flexible.
- Optional extras: I’ve added chili flakes once when I wanted more heat, and fresh herbs like dill gave a fresher taste, so you can play around with small changes without much effort.
💡 Note: For the full ingredient list with exact amounts and measurements, please check the recipe card below.
Step-By-Step Instructions to Make Cottage Cheese Chips:
You know that the thickness really matters. If you leave the cottage cheese too thick, the chips stay soft in the middle, but if you spread them thinner, they crisp up nicely.
Step 1: Prepare the baking sheet
Line a tray with parchment paper so nothing sticks, and preheat the oven while you get the cheese ready. I found that using parchment instead of foil makes cleanup easier and helps the chips release without breaking.
Step 2: Scoop and flatten the cottage cheese
Place small spoonfuls of cottage cheese on the tray, and then gently press them down with the back of a spoon. Try not to leave them too thick because they won’t crisp evenly. I usually spread them until they look like little flat circles.
Step 3: Add shredded cheese and seasoning
Sprinkle a bit of shredded cheddar over each portion, then add your seasoning of choice. I like using Everything Bagel mix, but sometimes I switch to paprika or garlic powder when I want a different flavor. The extra cheese melts and helps the chips hold together.
Step 4: Bake until golden and crisp
Slide the tray into the oven and let the heat do the work. You’ll know they’re ready when the edges turn deep golden brown and the centers look firm instead of wet. Don’t rush this part because if you take them out too early, they lose crunch once cooled.
Step 5: Cool before eating
Once they’re out of the oven, let them sit for a few minutes. They harden as they cool, and that’s when the crunch really develops. I once tried eating them straight away, and they felt chewy, so waiting makes a big difference.
💡 Note: These steps are just an overview. For detailed quantities, measurements, and exact timings to make this recipe, please check the recipe card below.
Helpful Tips For The Best Results:
- Spread thin: Make sure to flatten the cottage cheese enough so the chips bake evenly, because if they’re too thick, the centers stay soft instead of crisp.
- Watch the edges: Keep an eye on the color since the edges turning golden is the best sign they’re ready, and pulling them out too early makes them chewy once cooled.
- Cheese choice matters: I’ve noticed cheddar melts into a sharper flavor, while Parmesan makes them saltier and firmer, so swapping cheeses changes the texture more than you’d expect.
- Seasoning balance: Don’t overload the seasoning because it can overpower the mild cottage cheese, so a light sprinkle works better for flavor without being too strong.
- Cooling time: Let them rest fully before eating, since they harden as they cool, and skipping this step leaves them bendy instead of crunchy.
Tasty Variations to Try:
- Spicy kick: Add chili flakes or cayenne pepper if you want heat, and I’ve even tried a dash of hot sauce mixed in before baking.
- Herb blend: Fresh dill or parsley folded into the cheese gives a lighter taste, and basil works well if you want something more fragrant.
- Cheese swap: Mozzarella makes them softer and stretchy, while Parmesan gives a crispier bite, so you can change the cheese depending on your mood.
- Seasonal twist: In colder months, smoked paprika adds warmth, while in summer, lemon zest mixed into the cheese gives a fresh flavor.
- Vegan option: Plant‑based ricotta with dairy‑free shredded cheese works, but I found it needs a little extra bake time to dry out properly.
- Dip pairing: Try them with hummus, salsa, or guacamole, since each dip changes the overall taste and makes them feel like a different snack.
Serving Suggestions:
1. Snack time:
Serve with salsa or hummus when you want something crunchy in the afternoon, because the dips balance the salty flavor of the Cottage Cheese Chips.
2. Party platter:
Perfect for adding to a small appetizer tray, since they pair well with guacamole or pico de gallo and give guests a lighter option.
3. Lunch side:
Pairs well with a simple salad or soup, because the crisp texture adds variety without feeling heavy.
4. Kid‑friendly:
Serve with yogurt dip or mild cheese spread, since kids enjoy the crunch and it feels like a fun alternative to regular chips.
Storage & Reheating Tips:
- Best storage method: Keep the Cottage Cheese Chips in an airtight container once they have cooled, because this helps prevent moisture from making them soft. I usually store mine in a dry cupboard instead of the fridge.
- How long they keep: They stay crunchy for about three to four days, and after that they start losing texture, so it’s better to make smaller batches if you don’t plan to finish them quickly.
- Simple reheating advice: If the chips soften, place them back on a tray and warm them in the oven for a few minutes. I’ve noticed this brings back the crispness without changing the flavor.
Frequently Asked Questions (FAQ):
-
Can I use different cheese?
Yes, you can swap cheddar for Parmesan or mozzarella, and each one changes the flavor and texture a little, so it depends on what you like best.
-
Can I make them ahead of time?
You can bake a batch and store them in a container, but they taste best within a few days, so I usually make smaller portions instead of keeping them too long.
-
Why are my chips soft?
If they don’t crisp, it usually means they were spread too thick or taken out too early, so flattening them more and waiting for golden edges helps.
-
Are they good for low‑carb diets?
Yes, Cottage Cheese Chips are naturally low in carbs and higher in protein, which makes them fit well into low‑carb or high‑protein eating styles.
-
Can I make them without dairy?
A vegan ricotta or plant‑based shredded cheese works, but I’ve noticed they need extra baking time to dry out properly compared to regular cheese.
Cottage Cheese Chips
Description
Cottage Cheese Chips are light, crispy baked bites made with cottage cheese, shredded cheese, and seasoning. They’re high in protein, low in carbs, and perfect when you want a crunchy snack without feeling heavy.
Ingredients
Instructions
- Preheat oven to 375°F and line a baking sheet with parchment paper.
- Place about 1 1/2 tablespoons of cottage cheese onto the sheet and gently flatten into thin circles.
- Sprinkle each portion with about 1 teaspoon of shredded cheddar cheese.
- Lightly sprinkle with 1 1/2 tablespoons of Everything Bagel seasoning across all portions, adding optional paprika or chili flakes if desired.
- Bake for 28-30 minutes until edges are deep golden and centers look firm.
- Remove from oven and let chips cool for at least 8 minutes before serving to allow them to crisp.
Nutrition Facts
Servings 12
Serving Size 1 chip (approx. 1 oz)
- Amount Per Serving
- Calories 42kcal
- % Daily Value *
- Total Fat 2.0g4%
- Saturated Fat 0.9g5%
- Cholesterol 7mg3%
- Sodium 115mg5%
- Potassium 28mg1%
- Total Carbohydrate 2.1g1%
- Dietary Fiber 0.1g1%
- Sugars 0.7g
- Protein 3.6g8%
- Vitamin A 90 IU
- Vitamin C 0.2 mg
- Calcium 46 mg
- Iron 0.2 mg
- Vitamin D 8 IU
* Percent Daily Values are based on a 2,000‑calorie diet, and your daily needs may be higher or lower depending on your lifestyle. Nutrition information is shared only as a general estimate and may not always be fully accurate. If you follow a special diet or have specific health concerns, it’s best to check with a registered dietitian for personalized guidance.