When I first tried making Homemade Eggnog at home, I realized it doesn’t take as much time as people usually think. The steps are straightforward, and once you get the hang of tempering the eggs, it feels more like a quick kitchen project than a long recipe.
I usually save it for evenings during the holiday season because that’s when it feels the most comforting, but honestly, it can work as a little snack drink or even something to serve after dinner. That’s why I wanted to share how easy it is to make, before we talk about what eggnog actually is in the next section.
What is Eggnog?
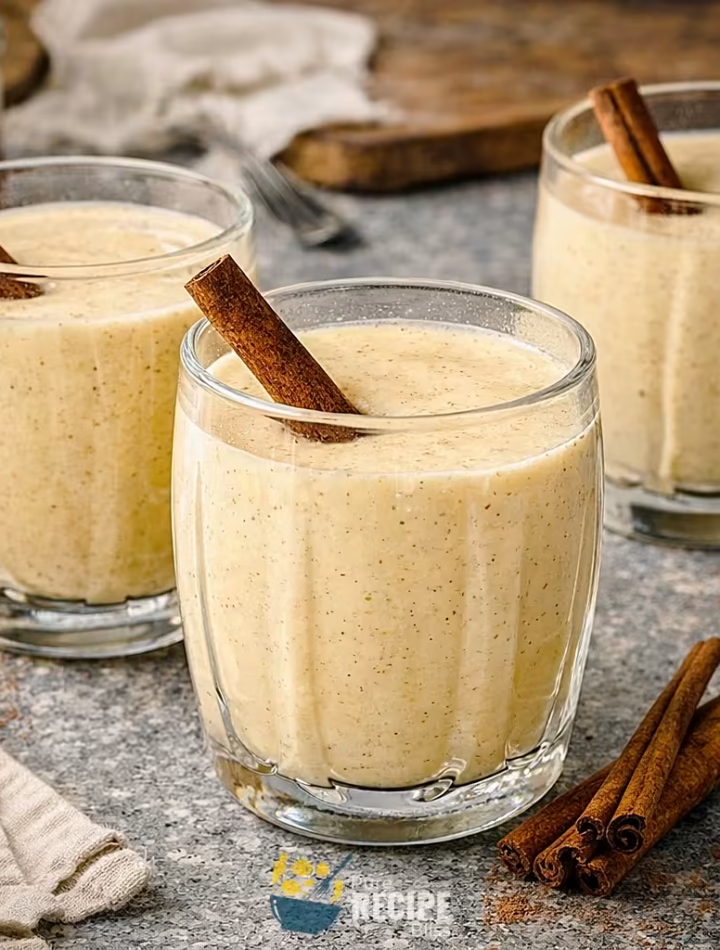
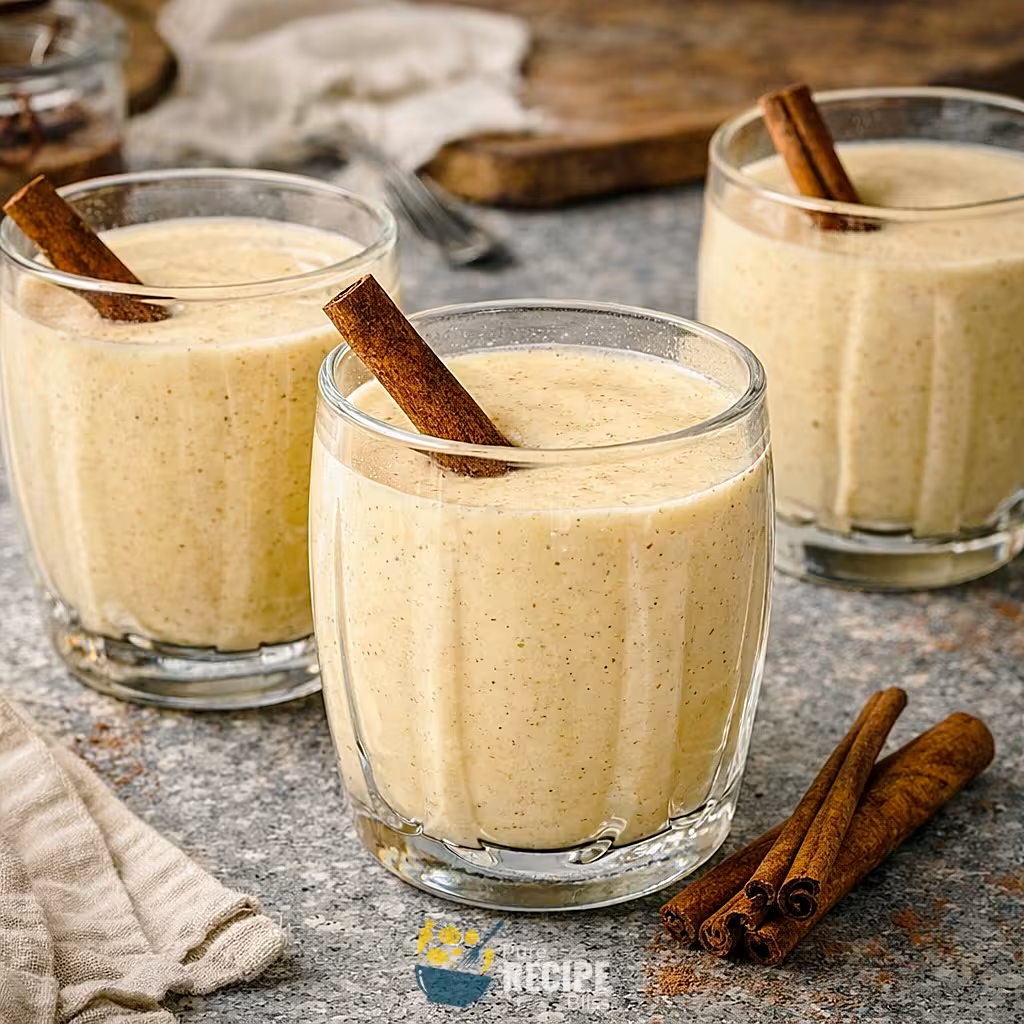
Eggnog is basically a creamy holiday drink that’s made by mixing milk, cream, eggs, sugar, and spices together, and it usually has a little alcohol added in if you want it that way. It’s known for being thick and smooth, and people often enjoy it cold in a glass with a sprinkle of nutmeg or cinnamon on top.
Most of the time it shows up around Christmas or winter gatherings, and it’s served as a festive drink rather than with a meal. Some families keep it non-alcoholic so everyone can have it, while others add bourbon, rum, or brandy to make it more of a holiday toast. That’s why it’s seen as both a cozy tradition and a fun seasonal treat.
Why You’ll Love This Recipe:
- Easy to put together: Even though Homemade Eggnog sounds fancy, the actual steps are pretty simple once you try them. I noticed that the whole process feels more like mixing and heating than complicated cooking.
- Creamy and rich texture: The combination of milk and cream gives it a thickness that feels smooth when you drink it. I found that using slightly more cream made it taste fuller, but you can adjust depending on how heavy you like it.
- Customizable flavor: You can add bourbon, rum, or keep it alcohol-free, and it still tastes good. I once tried coconut cream instead of heavy cream, and it gave a lighter but still tasty result.
- Festive and cozy: It’s the kind of drink that makes sense during holidays or winter evenings. I usually serve it cold with a little nutmeg on top, and it feels like a small tradition every time.
- Tested for safety: Cooking the mixture to the right temperature makes it safer than the old raw-egg versions. I learned that using pasteurized eggs also helps, especially if you’re serving it to kids or family.
Ingredients Needed:
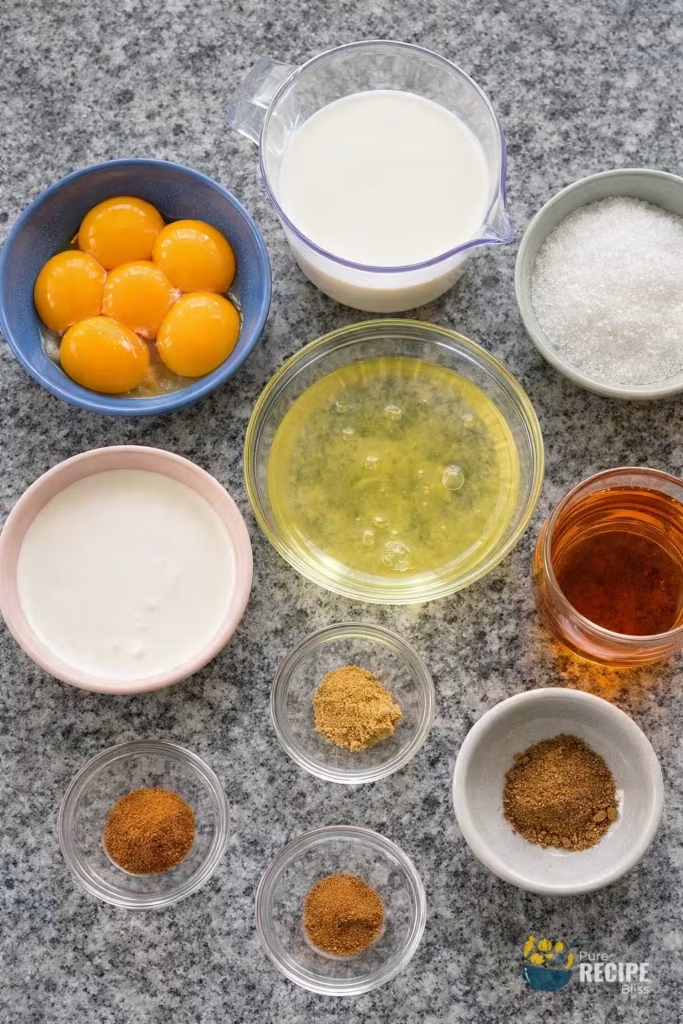
- Sugar: This is what gives the Homemade Eggnog its sweetness, and I noticed that using regular granulated sugar works fine, but sometimes I swap a little with honey if I want a softer flavor.
- Eggs: You’ll need both yolks and whites, and I learned that pasteurized eggs make me feel safer when serving it to family. The yolks make it creamy, and the whipped whites add that light frothy finish.
- Milk: Any milk works here, but I usually go with whole milk because it gives a fuller taste. I tried almond milk once, and while it was lighter, it still worked well.
- Heavy cream: This is what makes the drink rich and thick. If you want it less heavy, you can use half-and-half, but I found coconut cream gives a nice twist too.
- Spices: Nutmeg, cinnamon, and ginger are the main ones. I like grating nutmeg fresh because it gives a stronger aroma, and it really makes a difference compared to pre-ground.
- Bourbon or other alcohol: Adding bourbon makes it more festive, but you can skip it if you want a family-friendly version. I once tried rum, and it gave a slightly sweeter flavor.
- Optional garnishes: Things like crushed candy canes, melted chocolate, or cinnamon sticks make it look more fun when serving. I usually add a cinnamon stick because it’s simple and adds a little extra flavor.
💡 Note: For the full ingredient list with exact amounts and measurements, please check the recipe card below.
Step-By-Step Instructions to Make Eggnog:
One small thing I learned while making Homemade Eggnog at home is that the eggs can scramble very quickly if you rush the heating step, so I had to slow down and keep stirring. Once I figured that out, the whole process felt much smoother.
Step 1: Beat the Yolks
Start by separating the eggs, and place the yolks in a mixing bowl. Beat them until they look lighter in color and a little fluffy. This step helps create the creamy base. I noticed that if I add the sugar slowly while mixing, it dissolves better and doesn’t leave any grainy texture.
Step 2: Warm the Milk and Cream
In a saucepan, combine the milk and cream with the spices. Heat it gently until it feels hot to the touch but not boiling. The mixture should look smooth and slightly steamy. I found that stirring every minute or so keeps the spices from settling at the bottom.
Step 3: Temper the Eggs
This part is important. Slowly add a little of the hot milk mixture into the yolks while whisking constantly. The goal is to raise the temperature of the eggs without cooking them too fast. I once poured too quickly and ended up with tiny lumps, so now I always add just a ladle at a time.
Step 4: Cook Until Safe
Pour the tempered egg mixture back into the saucepan and cook it gently. Keep stirring until the mixture thickens slightly and coats the back of a spoon. It should look glossy and smooth. This step makes sure the eggs are cooked safely without turning into scrambled bits.
Step 5: Add Bourbon and Chill
Once the mixture is ready, remove it from the heat and stir in the bourbon if you’re using it. Cover and let it chill in the fridge until cold. I noticed that chilling overnight makes the flavors blend better, so I usually prepare it the day before serving.
Step 6: Whip the Egg Whites
Beat the egg whites in a clean bowl until they form soft peaks, then add a little sugar and continue until stiff peaks form. This adds a frothy texture. I learned that using a clean, dry bowl helps the whites whip faster.
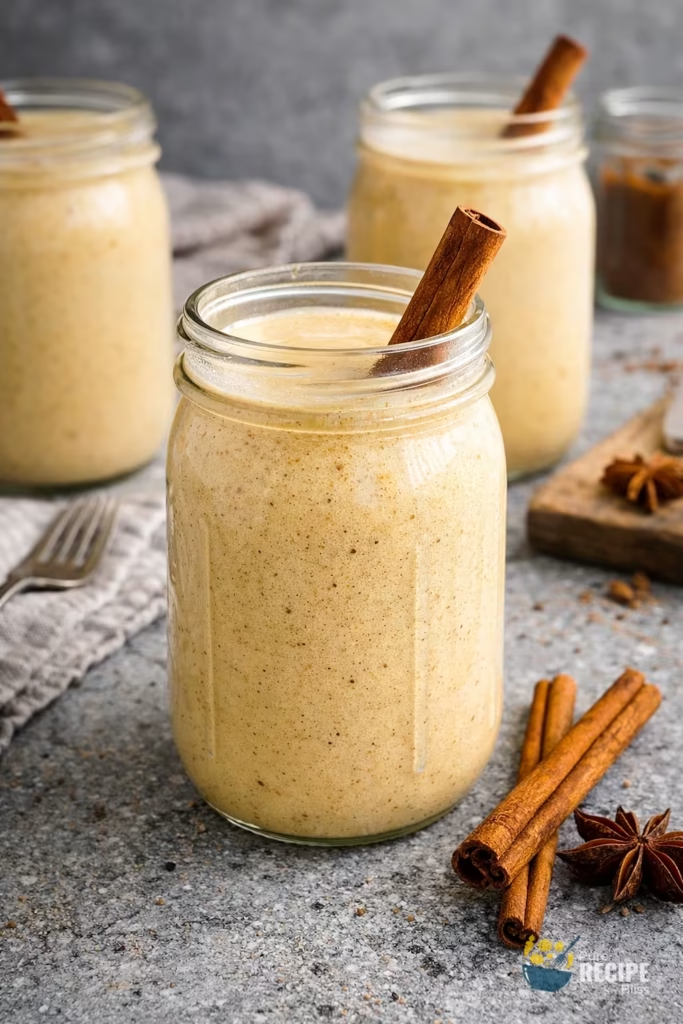
Step 7: Combine and Serve
Gently fold the whipped egg whites into the chilled eggnog. The drink should look creamy with a light foam on top. Pour into glasses and sprinkle nutmeg or add a cinnamon stick for garnish. I sometimes rim the glass with crushed candy cane for extra holiday fun.
💡 Note: These steps are just an overview. For detailed quantities, measurements, and exact timings to make this recipe, please check the recipe card below.
Helpful Tips For The Best Results:
- Control the heat: When warming the milk and cream, keep the heat low and steady. I once turned it up too high, and the mixture started to bubble too quickly, which made tempering harder.
- Texture check: The eggnog should coat the back of a spoon lightly when cooked. If it looks too thin, keep stirring a little longer, but don’t let it boil.
- Egg tempering: Add the hot milk slowly into the yolks. I learned that whisking constantly while adding just a small amount at a time prevents lumps.
- Ingredient swaps: Whole milk gives the richest flavor, but almond milk or oat milk can work if you want it lighter. Coconut cream is a good substitute for heavy cream if you want a dairy-free option.
- Chill for flavor: Letting the eggnog rest in the fridge overnight makes the spices blend better. I noticed the taste was smoother the next day compared to serving it right away.
Tasty Variations to Try:
- Spiced twist: Add a pinch of cloves or cardamom for a stronger spice profile. I tried cardamom once, and it gave a nice warm flavor.
- Chocolate version: Stir in a little cocoa powder while heating the milk mixture. It makes the drink taste richer and slightly dessert-like.
- Coffee blend: Mix in a small shot of espresso before chilling. I found this works well if you want a holiday drink with a bit of energy.
- Non-alcoholic option: Skip the bourbon and serve it plain. I sometimes do this when making it for kids, and it still tastes creamy and festive.
- Seasonal swap: Try using pumpkin spice instead of the usual nutmeg and cinnamon. It changes the flavor slightly but still feels seasonal.
- Light version: Use half-and-half instead of heavy cream. It makes the drink less thick but still enjoyable if you prefer something lighter.
Serving Suggestions:
1. Holiday evenings:
Homemade Eggnog is perfect for serving after dinner during the holidays. It pairs well with cookies or small slices of cake when you want something sweet but not too heavy.
2. With desserts:
Serve with pies like apple or pumpkin, since the creamy drink balances the spiced filling. I noticed it also works nicely with chocolate desserts because the flavors don’t compete.
3. Casual gatherings:
Pour into small glasses and garnish with nutmeg or a cinnamon stick. It pairs well with savory snacks like cheese boards, making it feel more festive without much effort.
4. Cozy nights:
Perfect for sipping while watching a movie or sitting with family. I sometimes warm it slightly, and it pairs well with roasted nuts or spiced popcorn.
Storage & Reheating Tips:
- How long it keeps: Homemade Eggnog usually stays good for a couple of days in the fridge. I noticed that after the second day, the flavor starts to fade a little, so it’s best enjoyed fresh.
- Best storage method: Keep it in a sealed container in the refrigerator. I usually give it a quick stir before serving again because the cream and spices can settle at the bottom.
- Simple reheating advice: If you prefer it warm, heat it gently on the stove over low heat. Stir constantly so it doesn’t thicken too much, and avoid boiling because that can change the texture.
Frequently Asked Questions (FAQ):
-
Can I substitute the milk or cream?
Yes, you can use almond milk, oat milk, or coconut cream. I tried coconut cream once, and it gave a thicker texture that still tasted good.
-
Can I make Homemade Eggnog ahead of time?
Yes, it works well if you chill it overnight. I noticed the flavors blend better the next day, but it should be finished within a couple of days.
-
Why does my eggnog feel too thin?
If it doesn’t coat the back of a spoon, it probably needs more gentle cooking. Keep stirring slowly until it thickens without boiling.
-
Is it safe to serve to kids?
Using pasteurized eggs and cooking the mixture properly makes it safer. I usually skip the alcohol when serving it to children or family members who don’t drink.
-
Can I make it dairy-free?
Yes, swapping regular milk with almond or oat milk and using coconut cream instead of heavy cream works fine. The flavor changes slightly, but it’s still creamy.
Eggnog
Description
Homemade Eggnog is a creamy holiday drink made with milk, cream, eggs, sugar, and warm spices. It can be served chilled or slightly warmed, with or without bourbon. This recipe is tested at home and adjusted for smooth texture and safe cooking.
Ingredients
Instructions
- In a mixing bowl, beat 5 egg yolks with ½ cup sugar until pale and smooth.
- Heat 2 ½ cups whole milk, ¾ cup heavy cream, ¾ tsp nutmeg, ½ tsp cinnamon, and ¼ tsp ginger in a saucepan until hot but not boiling.
- Slowly whisk a ladle of hot milk mixture into the yolks, then gradually add more while whisking constantly.
- Return tempered yolk mixture to saucepan and cook gently until it coats the back of a spoon.
- Remove from heat, stir in ¾ cup bourbon if using, and chill for at least 1 hour.
- Beat 5 egg whites until soft peaks form, add 1 tbsp sugar, and continue beating until stiff peaks form.
- Fold whipped egg whites into chilled eggnog, then serve cold with optional garnishes like candy canes, melted chocolate, or cinnamon sticks.
Notes
- Use pasteurized eggs for extra safety.
- Chill overnight for deeper flavor.
- Stir before serving since cream and spices may settle.
Nutrition Facts
Servings 5
Serving Size 1 cup
- Amount Per Serving
- Calories 395kcal
- % Daily Value *
- Total Fat 20g31%
- Saturated Fat 11g56%
- Cholesterol 210mg70%
- Sodium 110mg5%
- Potassium 190mg6%
- Total Carbohydrate 23g8%
- Sugars 21g
- Protein 9g18%
- Vitamin A 920 IU
- Vitamin C 0.3 mg
- Calcium 140 mg
- Iron 0.7 mg
- Vitamin D 110 IU
* Percent Daily Values are based on a 2,000‑calorie diet, and your daily needs may be higher or lower depending on your lifestyle. Nutrition information is shared only as a general estimate and may not always be fully accurate. If you follow a special diet or have specific health concerns, it’s best to check with a registered dietitian for personalized guidance.