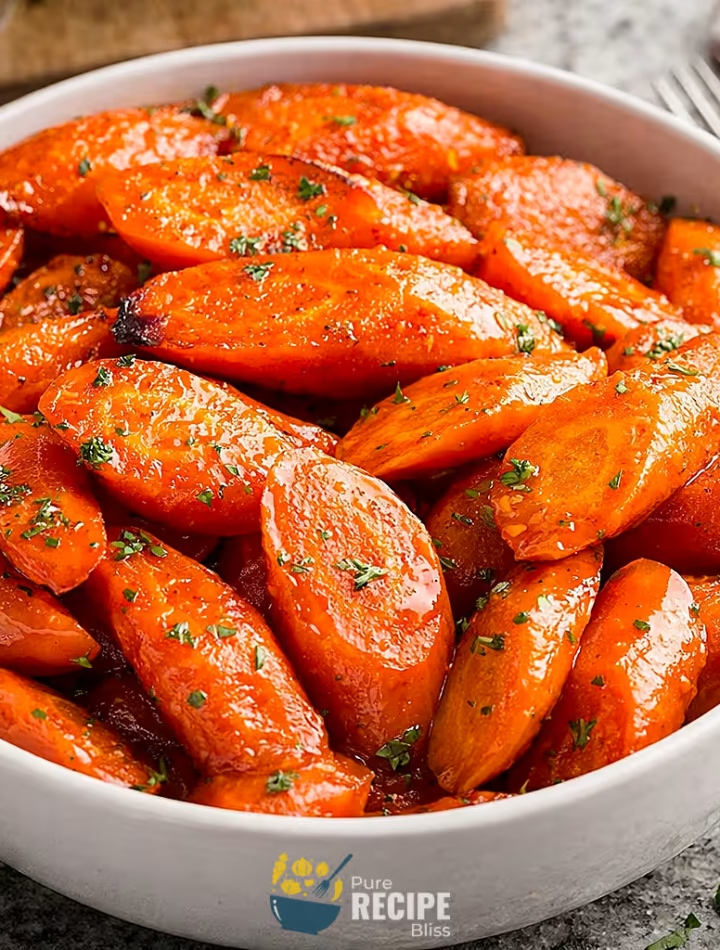
So, I tried making Brown Sugar Glazed Carrots the other day, and honestly, it turned out to be one of those dishes that doesn’t take much effort but still feels special. The whole thing comes together in about fifteen minutes, which makes it really easy to fit in when you’re already cooking other parts of a meal.
It works nicely for dinner as a side, but I’ve also served it at lunch when I wanted something warm and a little sweet with the main plate. The buttery glaze makes the carrots taste richer, and it’s the kind of recipe you can keep in mind for holidays or even just a regular weekday. Next, let’s talk about what Brown Sugar Glazed Carrots actually are.
What is Brown Sugar Glazed Carrots?
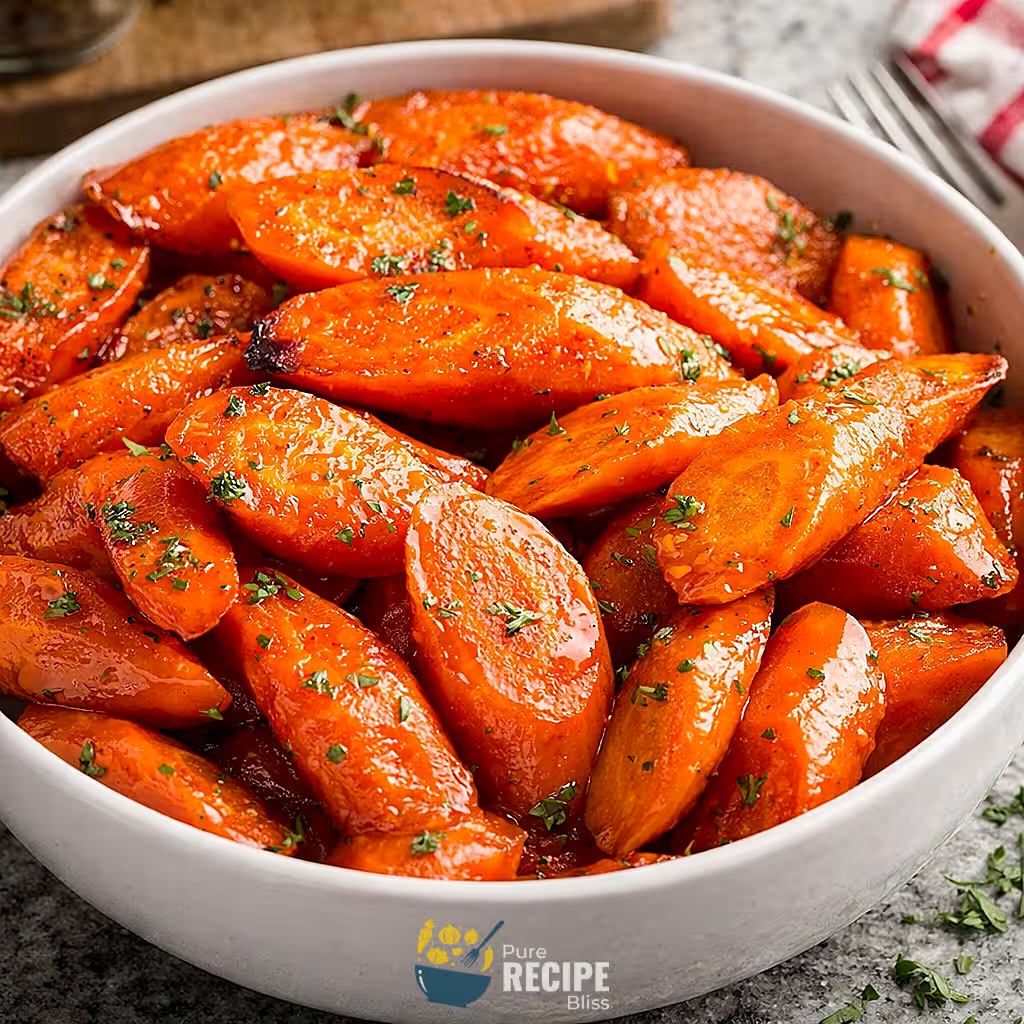
Brown Sugar Glazed Carrots are basically fresh carrots that are cooked on the stovetop with butter, a little salt, and brown sugar until they turn soft and get coated in a sweet glaze. The glaze is light but rich, and it clings to the carrots so every bite has that buttery sweetness.
Most people serve them as a side dish, usually with dinner, because they go well with meats like chicken, ham, or turkey. I’ve also made them for lunch when I wanted something warm and slightly sweet to balance out a savory plate. They’re not really a breakfast or snack food, but they fit nicely into holiday meals or even a regular weekday dinner.
Why You’ll Love This Recipe:
- Quick to make: The whole dish is ready in about fifteen minutes, so it doesn’t feel like extra work when you’re already cooking other things. I’ve made it while the main dish was still in the oven, and it timed out perfectly.
- Simple ingredients: You only need carrots, butter, brown sugar, and a little salt. I like that I don’t have to shop for anything unusual, and sometimes I swap the water for vegetable stock if I have some open.
- Easy to adjust: You can slice the carrots thick or thin depending on how you like them. I once cut them too thin and they softened too quickly, so now I keep them a little thicker for better texture.
- Works for different meals: It’s mainly a dinner side, but I’ve also served it at lunch with grilled chicken. It adds a touch of sweetness that balances savory dishes nicely.
- Holiday‑friendly: The shiny glaze and bright color make it look festive without needing any fancy garnish. I’ve used parsley on top, but even without it, the dish looks good on the table.
Ingredients Needed:

- Carrots: You’ll need fresh carrots, and you can slice them into rounds, sticks, or even keep baby carrots whole. I’ve noticed that thicker slices hold their shape better, while thinner ones soften faster, so I usually go for medium thickness.
- Butter: I like using unsalted butter because it gives me more control over the salt level, but if salted butter is what you have, you can just skip adding extra salt. The butter is what makes the glaze rich and smooth.
- Brown sugar: This is what gives the carrots that sweet coating. Sometimes I swap it with maple syrup when I want a lighter flavor, and it works fine too.
- Salt: Just a small amount helps balance the sweetness. I once forgot to add it, and the dish tasted a little flat, so now I always make sure to include it.
- Water or stock: You need liquid to simmer the carrots. I usually use water, but vegetable stock adds a bit more flavor if you have some on hand.
- Fresh parsley (optional): A sprinkle of chopped parsley at the end makes the dish look brighter. I don’t always add it, but when I do, it feels a little more festive.
💡 Note: For the full ingredient list with exact amounts and measurements, please check the recipe card below.
Step-By-Step Instructions to Make Brown Sugar Glazed Carrots:
If you don’t know, slicing the carrots too thin makes them soften too quickly and lose their shape. Keeping them a little thicker gives a nicer bite and helps the glaze stick better.
Step 1: Prepare the carrots
Start by peeling and slicing the carrots into even pieces. You can cut them into rounds, sticks, or keep baby carrots whole. Try to keep the sizes similar so they cook evenly. I once mixed thick and thin slices, and the thinner ones turned mushy before the thicker ones were done.
Step 2: Combine ingredients in the pan
Place the carrots in a saucepan and add butter, brown sugar, salt, and water or stock. Stir gently so everything coats the carrots before heating. I’ve noticed that using stock instead of water gives a slightly deeper flavor, but water works fine too.
Step 3: Simmer until tender
Cover the pan and let the carrots cook gently. You’ll see the liquid start to reduce, and the carrots will soften. The sauce should look glossy rather than watery. If it still looks thin, give it a little more time uncovered.
Step 4: Finish the glaze
Remove the lid and stir occasionally as the sauce thickens. The glaze should coat the carrots lightly without being too sticky. I once let it go too long, and the sugar started to caramelize too much, so now I stop when the sauce just clings to the spoon.
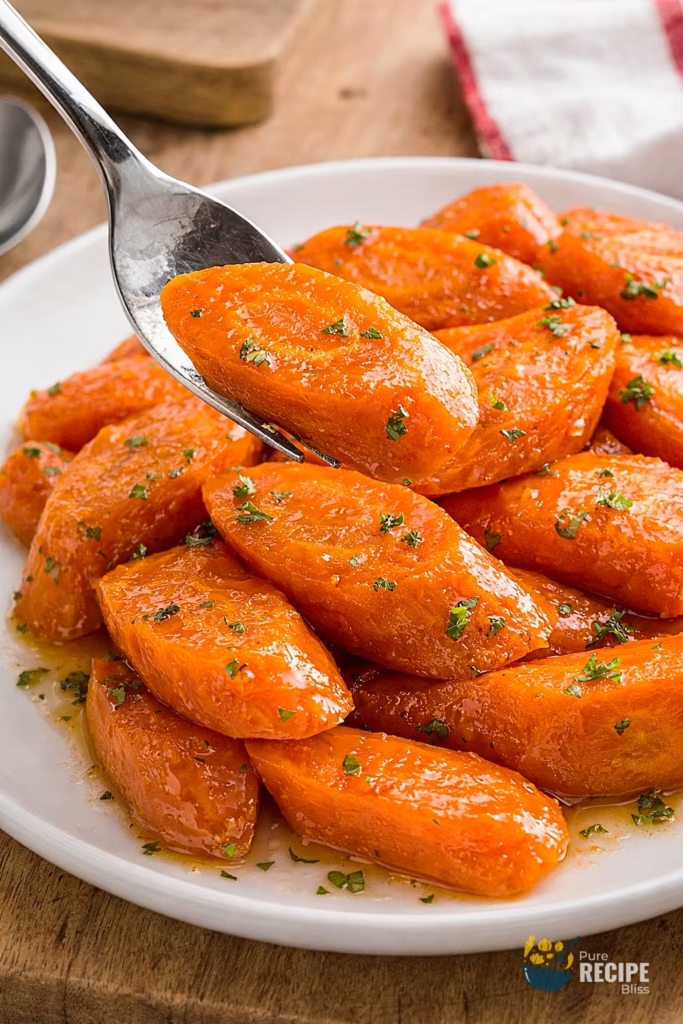
Step 5: Garnish and serve
Take the pan off the heat and sprinkle fresh parsley if you like. The green adds a nice contrast to the orange carrots. Serve them warm right away, because the glaze tastes best when it’s freshly made.
💡 Note: These steps are just an overview. For detailed quantities, measurements, and exact timings to make this recipe, please check the recipe card below.
Helpful Tips For The Best Results:
- Texture control: Try to keep the carrot slices a little thicker, because thinner ones soften too quickly and lose their bite. I learned this the hard way when mine turned mushy.
- Heat management: Keep the heat on medium rather than high, because too much heat makes the sugar caramelize too fast and the glaze can burn. Stirring once or twice helps keep things even.
- Liquid choice: Water works fine, but vegetable stock adds a little more flavor. I sometimes use chicken stock if I already have some open, and it makes the glaze taste richer.
- Salt balance: Don’t skip the salt, because it helps balance the sweetness. I once forgot it, and the dish tasted flat.
- Glaze check: Watch for the sauce to look glossy and cling lightly to the carrots. If it looks watery, just give it a few more minutes uncovered.
Tasty Variations to Try:
- Maple swap: Replace brown sugar with maple syrup for a lighter, slightly different sweetness.
- Honey glaze: Use honey instead of sugar for a floral flavor that pairs well with roasted meats.
- Spiced version: Add a pinch of cinnamon or nutmeg for a warm holiday twist.
- Savory option: Skip the sugar and add garlic with herbs for a less sweet side dish.
- Seasonal idea: In spring, add fresh dill instead of parsley for a brighter flavor.
- Dietary tweak: Use plant‑based butter if you want to keep it dairy‑free, and it still gives a nice glaze.
Serving Suggestions:
1. Dinner side:
Serve Brown Sugar Glazed Carrots with roasted chicken or baked ham, because the sweet glaze balances the savory flavors nicely.
2. Holiday meals:
Perfect for Thanksgiving or Christmas, since the bright color and shiny glaze make the table look more festive without extra effort.
3. Weeknight pairing:
Pairs well with simple dishes like grilled fish or pan‑fried cutlets, adding a touch of sweetness to an otherwise plain plate.
4. Lunch option:
I’ve also served it with sandwiches or wraps, where the warm carrots act as a small side that makes the meal feel complete.
Storage & Reheating Tips:
- How long it keeps: Brown Sugar Glazed Carrots stay good in the fridge for about three to four days. I usually put them in a covered container so the glaze doesn’t dry out.
- Best storage method: Store them in a shallow dish or airtight box, because stacking them too much makes the glaze stick together. I’ve found that keeping them flat helps the texture stay better.
- Simple reheating advice: Warm them gently on the stovetop or in the microwave. If the glaze looks too thick after chilling, add a spoon of water or stock while reheating to bring back the shine.
Frequently Asked Questions (FAQ):
-
Can I use something other than brown sugar?
Yes, you can swap it with maple syrup or honey. I’ve tried both, and they give a slightly lighter flavor but still make a nice glaze.
-
Can I make Brown Sugar Glazed Carrots ahead of time?
You can cook them earlier and reheat gently before serving. I usually add a spoon of water when reheating so the glaze looks fresh again.
-
Why did my carrots turn too soft?
This usually happens if the slices are too thin or if they cook too long. Keeping them a little thicker helps them hold their shape better.
-
Is this recipe dairy‑free friendly?
Yes, you can use plant‑based butter instead of regular butter. I’ve tried it once, and the glaze still came out smooth and shiny.
Brown Sugar Glazed Carrots
Description
Brown Sugar Glazed Carrots are tender carrots simmered with butter, brown sugar, and a touch of salt until coated in a shiny glaze. It’s quick to make, warm, and adds a little sweetness to holiday dinners or everyday meals.
Ingredients
Instructions
- Peel and slice 1 ¾ pounds carrots into medium rounds or sticks so they cook evenly.
- Place carrots in a saucepan with 3 tablespoons butter, 3 ½ tablespoons brown sugar, ¾ teaspoon salt, and 1 cup stock or water. Stir to coat.
- Cover the pan and cook on medium heat until carrots soften and liquid reduces.
- Remove lid and cook uncovered, stirring occasionally, until the glaze looks glossy and coats the carrots.
- Sprinkle 1 teaspoon parsley if desired and serve warm right away.
Notes
- Keep slices medium thickness to avoid mushy texture.
- Vegetable stock adds more flavor than water.
- Add a spoon of water when reheating if glaze thickens too much.
Nutrition Facts
Servings 6
Serving Size About ¾ cup cooked carrots
- Amount Per Serving
- Calories 128kcal
- % Daily Value *
- Total Fat 6g10%
- Saturated Fat 4g20%
- Cholesterol 16mg6%
- Sodium 290mg13%
- Potassium 370mg11%
- Total Carbohydrate 19g7%
- Dietary Fiber 3g12%
- Sugars 11g
- Protein 2g4%
- Vitamin A 18500 IU
- Vitamin C 6 mg
- Calcium 42 mg
- Iron 1 mg
- Vitamin D 20 IU
* Percent Daily Values are based on a 2,000‑calorie diet, and your daily needs may be higher or lower depending on your lifestyle. Nutrition information is shared only as a general estimate and may not always be fully accurate. If you follow a special diet or have specific health concerns, it’s best to check with a registered dietitian for personalized guidance.