I first tried making Garlic aioli because I wanted something quick that could make fries taste a little more exciting. It surprised me how fast it came together, and I didn’t need any special tools at all.
Now I keep it in mind for everyday meals because it works across different times of day. It’s nice with a sandwich at lunch, it adds flavor to wraps at dinner, and sometimes I even use it as a dip when I want a small snack. That’s why I think of it as one of those handy homemade sauces that fits into regular cooking.
What is Garlic Aioli?
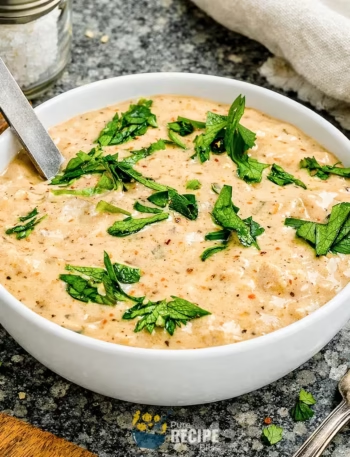
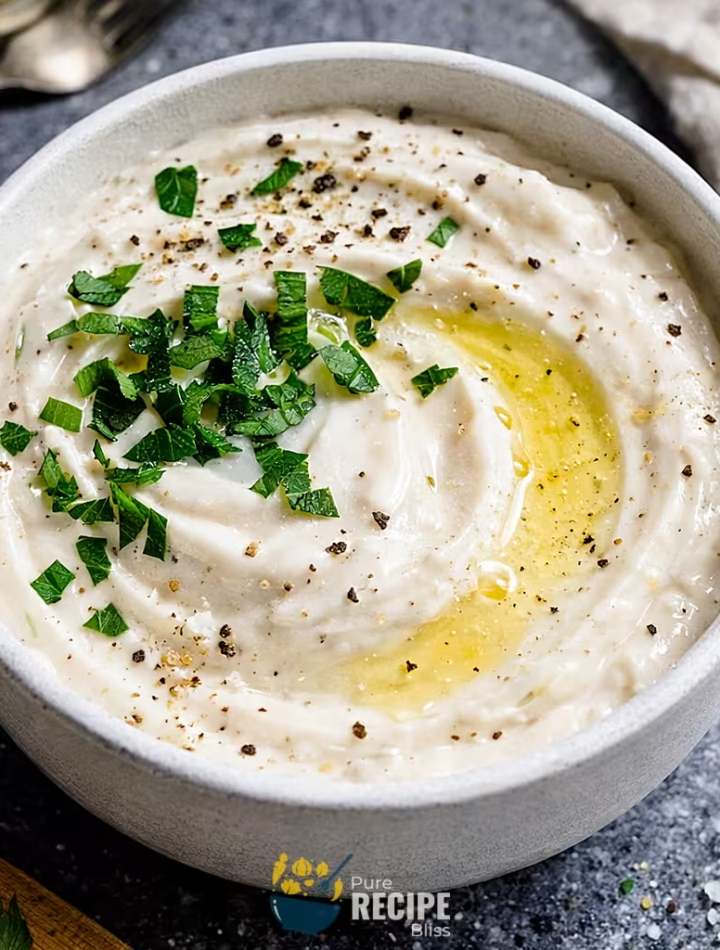
Garlic aioli is basically a creamy sauce made by mixing mayonnaise with fresh garlic, lemon juice, and a little olive oil. It’s often compared to mayonnaise, but the garlic and lemon give it a stronger flavor that feels more homemade and fresh.
Most people use garlic aioli as a dip for fries or roasted vegetables, but it also works really well as a spread for sandwiches and wraps. I’ve even tried it with grilled steak, and it added a nice balance without being too heavy. In different kitchens, you’ll see it used as a quick condiment to bring more flavor to everyday meals, and that’s why it has become one of my go-to sauces.
Why You’ll Love This Recipe:
- Quick to make: Garlic aioli comes together in just a few minutes, and I’ve noticed that even when I’m rushing to put food on the table, it doesn’t slow me down at all.
- Big flavor payoff: Even though the ingredients are simple, the garlic and lemon make the taste stand out. I was surprised how much it changed plain fries and even a basic sandwich.
- Easy to adjust: I’ve tried adding roasted garlic instead of raw, and it gave a softer flavor. You can also play with spice by mixing in a little chili or sriracha if you like heat.
- Works for different meals: I’ve used garlic aioli at lunch with wraps, at dinner with grilled meat, and even as a dip when I just wanted a quick snack. It fits into different times of day without feeling out of place.
- Beginner-friendly: When I first made it, I worried about the texture, but whisking slowly until it looked glossy worked better than rushing. That small detail made the sauce smooth every time.
Ingredients Needed:
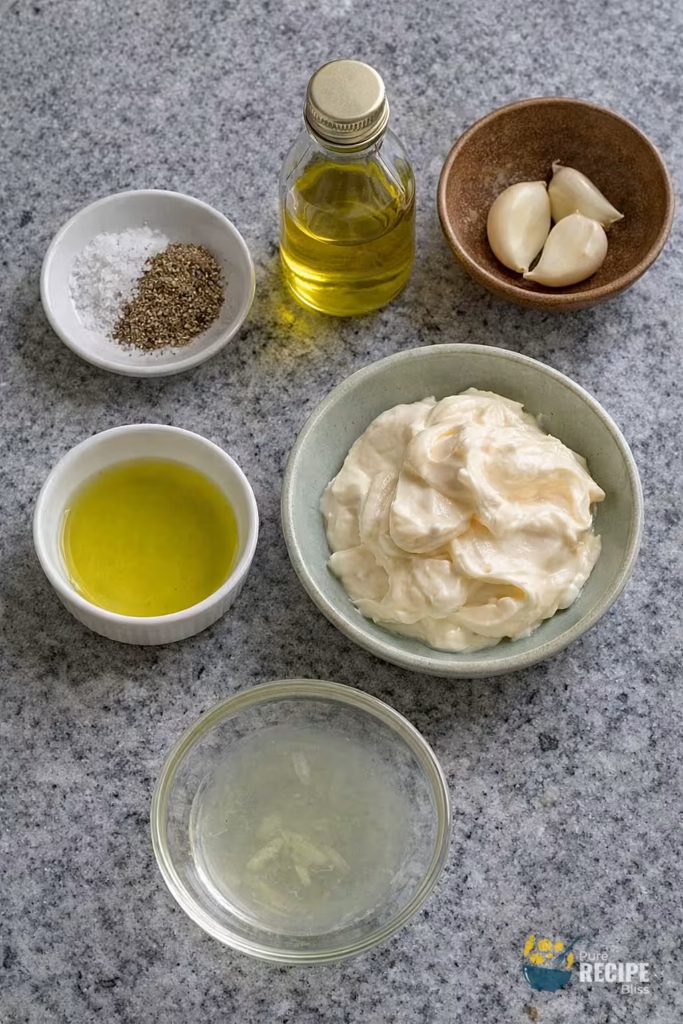
- Mayonnaise: This is the base of garlic aioli, and I usually just grab the brand I already have at home. It saves time, and it blends smoothly with the other ingredients.
- Garlic cloves: Fresh garlic makes the flavor stronger. I’ve tried roasted garlic once, and it gave a softer taste, so you can choose depending on what you like.
- Lemon juice: A small squeeze of lemon balances the heaviness of the mayo. I noticed that adding it slowly works better because too much at once can make the sauce too sharp.
- Olive oil: Just a little bit helps thin the sauce. I sometimes skip it if I want the aioli thicker for spreading on bread.
- Salt and black pepper: These are simple seasonings, but they make the flavors come together. I usually taste and adjust at the end instead of measuring exactly.
💡 Note: For the full ingredient list with exact amounts and measurements, please check the recipe card below.
Step-By-Step Instructions to Make Garlic Aioli:
The order of mixing really matters. When I added lemon juice too quickly, the flavor felt too sharp, but when I whisked slowly and let the garlic blend first, the sauce came out smoother and more balanced.
Step 1: Mix the base
Start with mayonnaise in a small bowl. Add the minced garlic and begin whisking gently so the garlic spreads evenly. The mixture should look creamy but not too thick at this point.
Step 2: Add lemon juice
Pour in the lemon juice a little at a time while whisking. This helps the sauce stay balanced instead of turning sour. You’ll notice the texture loosens slightly and looks glossy.
Step 3: Blend in olive oil
Drizzle olive oil while whisking. This step thins the sauce just enough to make it smooth. If you prefer a thicker spread, you can hold back a little on the oil.
Step 4: Season and taste
Sprinkle in salt and black pepper, then taste before adding more. I usually adjust at the end because garlic flavor can get stronger after resting.
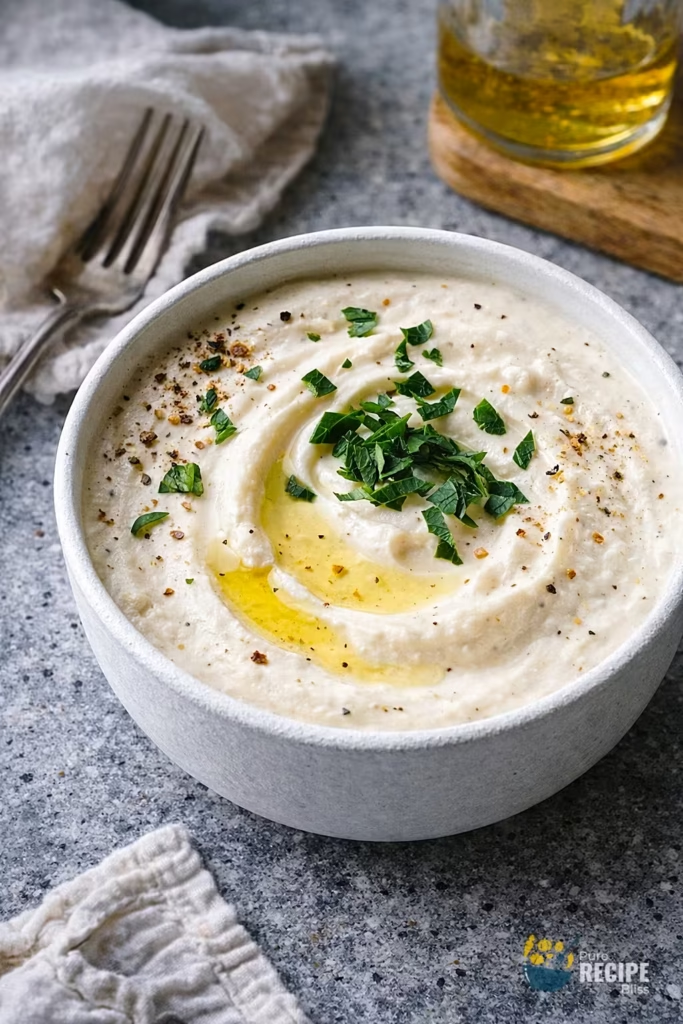
Step 5: Store or serve
Transfer the garlic aioli into a jar or airtight container. It’s ready to serve right away, but I’ve noticed it tastes even better after sitting in the fridge for a few hours since the flavors blend more.
💡 Note: These steps are just an overview. For detailed quantities, measurements, and exact timings to make this recipe, please check the recipe card below.
Helpful Tips For The Best Results:
- Texture matters: When whisking, don’t rush. If you whisk too quickly, the sauce can look uneven. I found that slow whisking makes it glossy and smooth.
- Garlic choice: Raw garlic gives a sharp bite, but roasted garlic makes the flavor softer. I tried both, and roasted worked better when serving it with steak.
- Lemon control: Add lemon juice slowly. Once I poured it all at once, the aioli tasted too sour. A little at a time keeps the balance right.
- Oil adjustment: Olive oil thins the sauce, but you don’t always need the full amount. If you want a spread for bread, hold back slightly so it stays thicker.
- Season at the end: Salt and pepper taste stronger after resting. I usually wait until the sauce has chilled before adjusting.
Tasty Variations to Try:
- Chipotle aioli: Add a spoon of chipotle sauce for smoky heat. I liked this version with grilled chicken tacos.
- Cilantro aioli: Mix in chopped cilantro for a fresh flavor. It worked well when I used it on shrimp wraps.
- Sriracha aioli: Stir in sriracha for a spicy kick. My family enjoyed this one with salmon rice bowls.
- Roasted garlic aioli: Swap raw garlic for roasted cloves. It gave a milder taste that paired nicely with steak.
- Herb aioli: Add parsley or dill for a lighter, garden-style flavor. I tried dill once, and it was great with roasted potatoes.
- Seasonal twist: In summer, I added a little zest from fresh limes instead of lemon, and it gave a brighter flavor.
Serving Suggestions:
1. Sandwich spread:
Garlic aioli works really well as a spread for sandwiches. Serve with grilled chicken or turkey sandwiches, and it adds a creamy flavor that makes the bread less dry.
2. Dip for fries:
Perfect for baked fries or truffle fries. I usually keep a small bowl on the side because it pairs well with both regular potatoes and sweet potato fries.
3. Wraps and rolls:
Garlic aioli pairs well with chicken wraps or veggie rolls. A small spoon inside the wrap makes the filling taste fresher and less plain.
4. Grilled meats:
Serve with steak or grilled seafood. I noticed it balances the heaviness of meat and gives a lighter finish without overpowering the main dish.
Storage & Reheating Tips:
- Fridge storage: Garlic aioli keeps well in the refrigerator for about a week. I usually store it in a small airtight jar, and that helps the flavor stay fresh without picking up other smells.
- Avoid freezing: Freezing doesn’t work because the texture separates after thawing. I tried once, and it turned grainy, so I don’t recommend it.
- Reheating advice: Since it’s a cold sauce, there’s no real reheating needed. If it thickens too much in the fridge, I just stir in a tiny splash of olive oil before serving.
Frequently Asked Questions (FAQ):
-
Can I use something other than mayonnaise?
Yes, you can swap in Greek yogurt for a lighter version. I tried it once, and while the flavor was tangier, it still worked fine as a dip.
-
Can garlic aioli be made ahead of time?
It can be prepared a day or two before serving. I noticed the flavor actually gets stronger after resting in the fridge overnight.
-
What if the texture feels too thick?
If it looks heavy, just whisk in a small splash of olive oil. I’ve done this when using it as a drizzle instead of a spread.
-
Is garlic aioli dairy-free?
Since it’s made with mayonnaise, it’s naturally dairy-free. Just check the brand of mayo you’re using to be sure.
-
Can I fix an overly strong garlic taste?
If the garlic feels too sharp, roasted cloves are a good option. They give a softer flavor that blends better with meats and sandwiches.
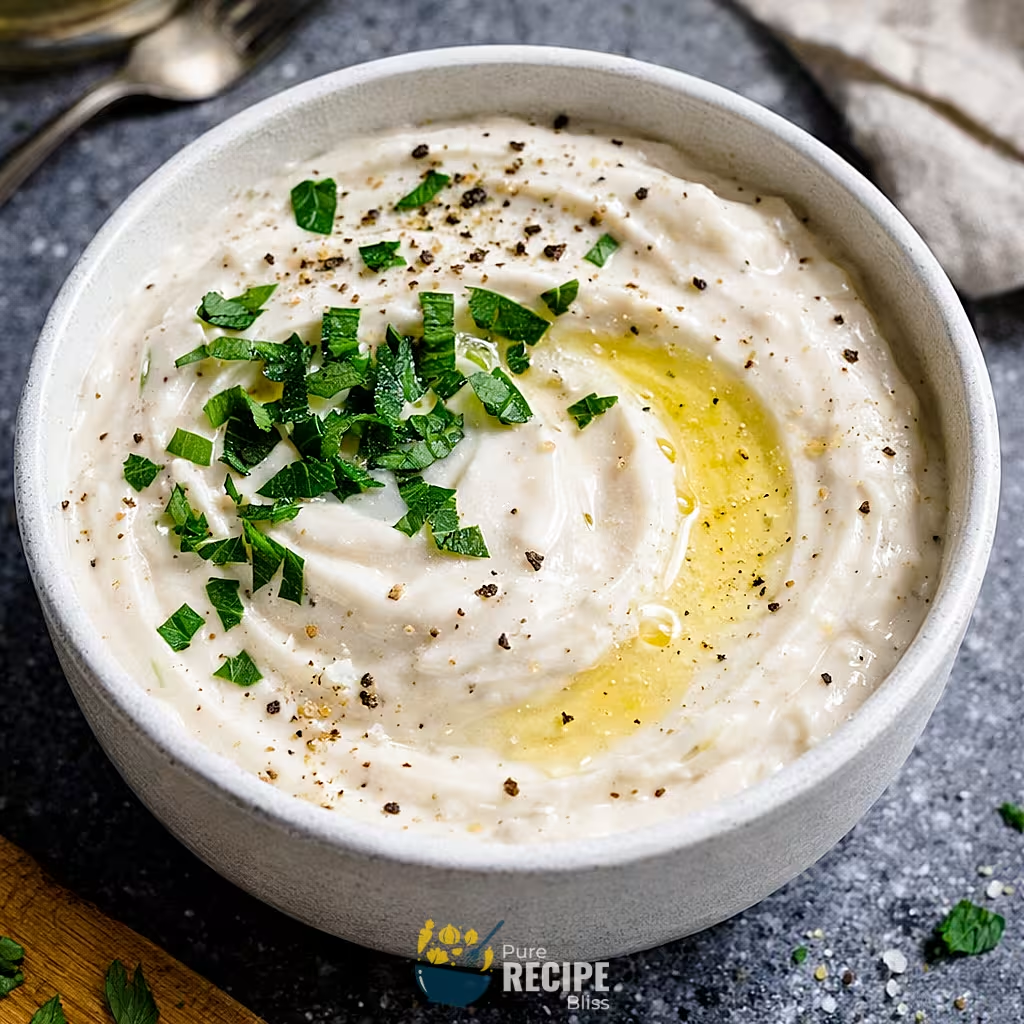
Garlic Aioli
Description
Garlic aioli is a creamy homemade sauce made with mayonnaise, garlic, lemon juice, and olive oil. It’s quick to prepare, adds bold flavor, and works as a dip, spread, or drizzle for everyday meals.
Ingredients
Instructions
- Place ½ cup mayonnaise in a mixing bowl and add 2 minced garlic cloves. Whisk gently until garlic is evenly combined.
- Slowly drizzle in 2 tablespoons olive oil while whisking. The sauce should look glossy and smooth.
- Add 1 tablespoon lemon juice gradually, tasting as you go to keep the flavor balanced.
- Sprinkle in ¼ teaspoon salt and ¼ teaspoon black pepper. Stir well and adjust seasoning if needed.
- Transfer the garlic aioli into a jar or airtight container. Rest in the fridge for about 15 minutes before serving to let flavors blend.
Notes
- If the garlic flavor feels too sharp, roast the cloves first for a milder taste.
- For a thicker spread, reduce the olive oil slightly.
- The aioli tastes stronger after resting overnight, so making it ahead can be helpful.
Nutrition Facts
Servings 5
Serving Size 2 tbsp
- Amount Per Serving
- Calories 210kcal
- % Daily Value *
- Total Fat 22g34%
- Saturated Fat 3g15%
- Cholesterol 10mg4%
- Sodium 180mg8%
- Total Carbohydrate 1g1%
- Sugars 0.5g
- Protein 0.5g1%
- Vitamin A 50 IU
- Vitamin C 1 mg
- Calcium 5 mg
- Iron 1 mg
- Vitamin D 20 IU
* Percent Daily Values are based on a 2,000‑calorie diet, and your daily needs may be higher or lower depending on your lifestyle. Nutrition information is shared only as a general estimate and may not always be fully accurate. If you follow a special diet or have specific health concerns, it’s best to check with a registered dietitian for personalized guidance.