I wanted to share this recipe because Milk and Honey Bread has turned into one of those things I make often at home. It doesn’t take a lot of effort, and once you get the hang of mixing and shaping, it feels pretty quick compared to other breads.
It’s the kind of loaf I reach for when I want something soft and slightly sweet that works across the day. I’ve sliced it for breakfast toast, packed it into lunch sandwiches, and even served it with dinner soups. That’s why I thought it would be nice to talk about it here, and then explain more about what Milk and Honey Bread really is.
What is Milk and Honey Bread?
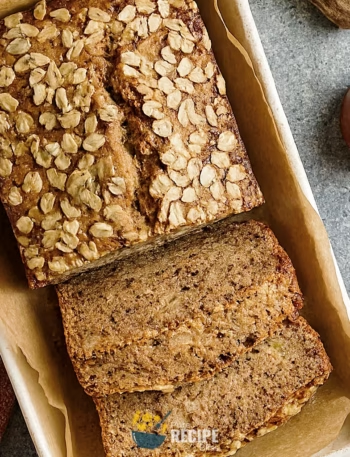
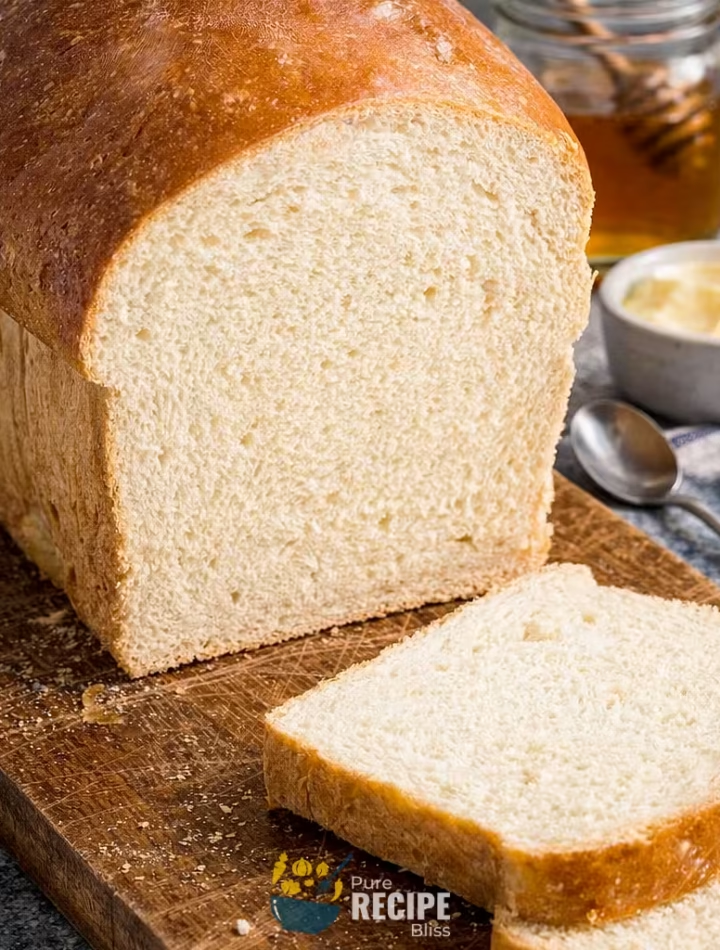
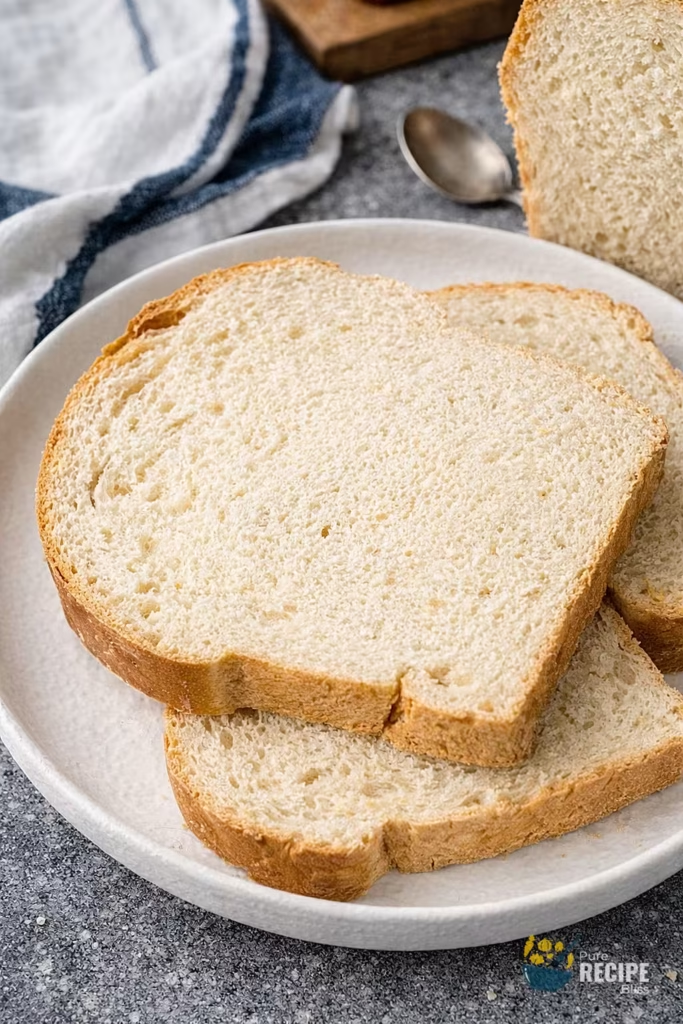
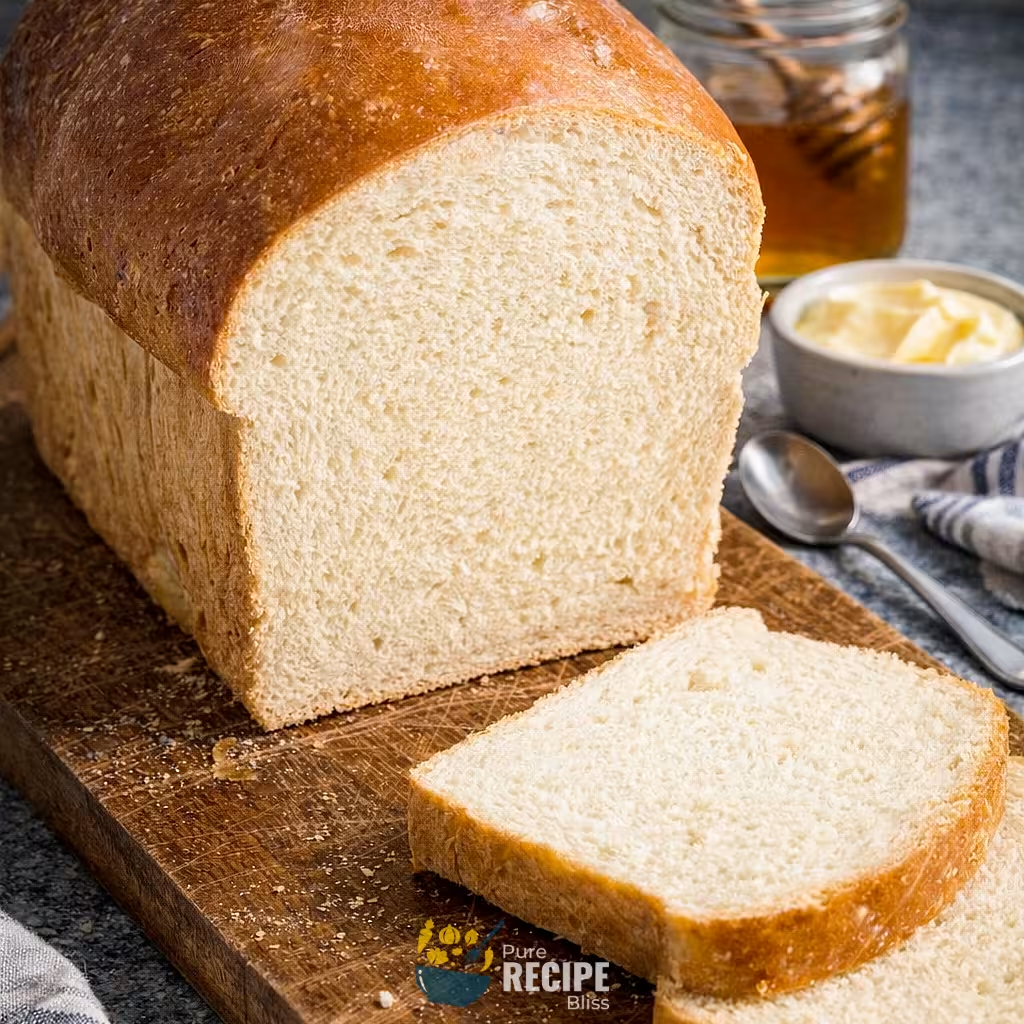
Milk and Honey Bread is a homemade white loaf that gets its tender crumb from milk and a touch of sweetness from honey. It’s not fancy, but it has a pleasant flavor that makes it easy to enjoy in different ways.
People usually serve it as sandwich bread, toast it with butter or jam, or use it for French toast. It’s versatile because the taste is mild and it pairs well with both savory and sweet toppings.
There isn’t a big tradition tied to it, but many home bakers keep it in their regular rotation since it’s dependable and fits into everyday meals without much fuss.
Why You’ll Love This Recipe:
- Soft texture: The loaf comes out tender and fluffy, and I noticed that adding just a splash more milk made the crumb even softer, which my kids really liked.
- Mild sweetness: The honey gives a gentle sweetness without being too strong, so it works for both savory sandwiches and sweeter toppings like jam.
- Easy process: The steps are straightforward, and even when I tried it the first time, the dough came together without much trouble. If it feels sticky, a little extra flour fixes it quickly.
- Versatile use: I’ve served it toasted for breakfast, packed it into lunch boxes, and even used it for French toast on weekends. It fits into different meals without needing adjustments.
- Freezer-friendly: I tested freezing slices, and they thawed nicely without losing softness, which makes it handy to keep extra on hand.
Ingredients Needed:
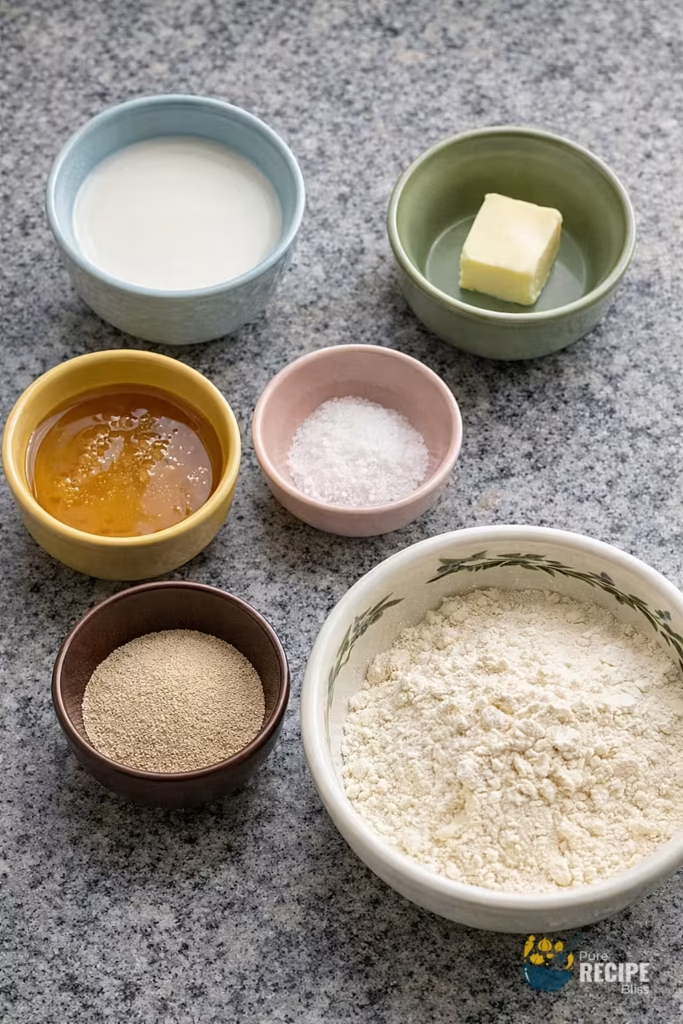
- All-purpose flour: You’ll need regular flour here, and I’ve found that measuring it carefully makes a big difference. If the dough feels too heavy, I sometimes hold back a spoonful and add it later while mixing.
- Honey: This gives the bread its light sweetness. I usually use a mild honey so the flavor doesn’t take over, but if you like stronger notes, a darker honey works too.
- Milk: Whole milk makes the loaf softer, but I’ve tried it with 2% and it still turned out fine. If the dough feels dry, adding just a tablespoon more helps it come together.
- Salt: A small amount balances the sweetness. I once forgot to add it, and the bread tasted flat, so don’t skip this.
- Butter: Softened butter adds richness. I prefer mixing it in at the start because it blends better, but you can also knead it in later if you forget.
- Instant yeast: This makes the process quicker since you don’t need to proof it first. I keep mine in the freezer so it stays fresh longer.
- Loaf pan and mixer: A standard loaf pan works best, and while you can knead by hand, I usually rely on my stand mixer because it saves time and effort.
💡 Note: For the full ingredient list with exact amounts and measurements, please check the recipe card below.
Step-By-Step Instructions to Make Milk and Honey Bread:
The dough can look fine at first but then feel too sticky once you start kneading. I realized it helps to keep a little extra flour nearby so you can adjust without stopping the process.
Step 1: Mix the ingredients
Start by putting the flour, honey, milk, salt, butter, and yeast together in your mixing bowl. Let the mixer run for a minute and watch how the dough behaves. If it clings too much to the sides, sprinkle in a bit more flour. If it looks crumbly, add a splash of milk. The goal is to see the dough gather into a ball that moves around the bowl.
Step 2: Knead the dough
Once the dough looks balanced, let the mixer knead it for several minutes. The dough should start feeling smooth and stretchy. I usually check by pulling off a small piece and stretching it gently like if it tears right away, it needs more kneading. If it stretches thin and shows little translucent patches, it’s ready.
Step 3: First rise
Shape the dough into a ball and place it in a lightly greased bowl. Cover it with a damp towel or plastic wrap and set it in a warm spot. I sometimes use my oven that’s been turned on for just a minute and then switched off as it creates a cozy environment for rising. The dough should puff up and look airy, almost doubled in size.
Step 4: Shape the loaf
Take the risen dough and gently press it into a rectangle. Roll it up from the short side into a log, tucking the ends underneath. Don’t worry if the seams aren’t perfect because the baking will smooth things out. I like to use the loaf pan as a guide so the shape fits nicely.
Step 5: Second rise
Place the shaped dough into a greased loaf pan and cover it again. Let it rise until it looks puffy and the top is slightly above the edge of the pan. Towards the end, preheat your oven so it’s ready. I sometimes brush the top with milk before baking because it helps the crust turn golden.
Step 6: Bake the bread
Put the pan in the oven and bake until the loaf is golden brown on top. When you tap the crust, it should sound hollow. After baking, remove it from the pan and let it cool on a wire rack. I learned not to slice too early because if you cut while it’s hot, the inside can feel gummy. Waiting at least an hour makes the slices neat and soft.
💡 Note: These steps are just an overview. For detailed quantities, measurements, and exact timings to make this recipe, please check the recipe card below.
Helpful Tips For The Best Results:
- Check the dough texture: When mixing, the dough should form a ball that moves around the bowl. If it sticks too much, add a little flour, and if it looks dry, add a splash of milk.
- Control the heat: Bread rises best in a warm but not hot spot. I sometimes use my oven turned on for just a minute and then switched off, which keeps the dough cozy without overheating.
- Don’t rush the cooling: I once sliced the loaf too early, and the inside felt gummy. Waiting at least an hour makes the slices neat and soft.
- Ingredient swap: Whole milk gives the softest crumb, but I’ve tried 2% and it worked fine. If you don’t have honey, a mild maple syrup can be used, though the flavor will be slightly different.
Tasty Variations to Try:
- Whole wheat blend: Replace part of the flour with whole wheat for a slightly nutty flavor. I usually keep at least half all-purpose so the bread stays soft.
- Herb twist: Add dried rosemary or thyme into the dough for a savory version that pairs well with soups.
- Seasonal spice: A pinch of cinnamon or nutmeg makes the bread feel cozy in colder months, especially when toasted.
- Dairy-free option: Use plant-based milk and swap butter with oil. I tested almond milk once, and the loaf still came out tender.
- Sweet upgrade: Mix in a handful of raisins or dried cranberries for a breakfast-style bread.
- Mini rolls: Instead of shaping into a loaf, divide the dough into smaller rolls. They bake faster and are fun for serving at dinner.
Serving Suggestions:
1. Breakfast toast:
Serve with butter or jam in the morning. It pairs well with coffee or tea and makes a simple start to the day.
2. Lunch sandwiches:
Perfect for grilled cheese or deli-style sandwiches. The soft texture holds fillings nicely without breaking apart.
3. Dinner side:
Pairs well with soups or stews. I often slice it thick and serve it warm with a little butter.
4. Snack option:
Serve with peanut butter or honey for a quick bite. It’s filling enough without being too heavy.
5. Special treat:
Use it for French toast on weekends. The slight sweetness from the honey makes it taste extra good.
Storage & Reheating Tips:
- Room storage: Milk and Honey Bread keeps well for about two days at room temperature if wrapped tightly in plastic or placed in a bread bag. I usually keep mine on the counter, away from direct sunlight.
- Freezing option: For longer storage, slice the loaf and freeze it in a sealed freezer bag. This way you can pull out just a few slices at a time without thawing the whole loaf.
- Reheating advice: When reheating, I like to toast frozen slices directly in the toaster. If you want them softer, you can warm them in the oven for a few minutes instead of microwaving, which sometimes makes bread chewy.
Frequently Asked Questions (FAQ):
-
Can I swap honey with something else?
Yes, you can use maple syrup if you don’t have honey. The flavor will be slightly different, but the bread still comes out soft and sweet enough.
-
Can I make the dough ahead of time?
You can prepare the dough and let it rise in the fridge overnight. Just bring it back to room temperature before shaping and baking.
-
Why does my bread feel too dense?
Usually, this happens if the dough wasn’t kneaded enough or if the rise was cut short. Giving it more time to puff up usually fixes the texture.
-
Is there a way to make it lighter for dietary needs?
You can use low-fat milk and reduce the butter slightly. I’ve tried this, and while the bread is less rich, it still tastes good.
-
Can I bake it in smaller portions?
Yes, shaping the dough into rolls instead of a loaf works fine. They bake faster and are easier to store in the freezer.
Milk and Honey Bread
Description
Milk and Honey Bread is a soft homemade loaf with a gentle sweetness from honey and a tender crumb from milk. It’s versatile enough for sandwiches, toast, or even French toast, and it’s one of those breads that feels comforting and reliable for everyday meals.
Ingredients
Instructions
- In a large mixing bowl, combine 3 ¼ cups flour, 1 cup milk, 2 tablespoons honey, 2 tablespoons softened butter, 1 ½ teaspoons salt, and 2 teaspoons instant yeast. Mix until the dough forms a ball. If it looks dry, add 1-2 tablespoons more milk.
- Knead the dough until smooth and elastic. The dough should stretch thin without tearing.
- Place the dough into a greased bowl, cover with a damp towel, and let it rise until doubled in size (about 1 hour 30 minutes).
- Press the risen dough into a rectangle, then roll it into a log. Tuck the ends underneath and place into a greased loaf pan.
- Cover the pan and let the dough rise again until puffy and slightly above the pan edge. Brush the top with a little milk.
- Bake in a preheated oven at 350°F for about 35 minutes, until golden brown and hollow-sounding when tapped.
- Remove from the pan and cool on a wire rack for at least 1 hour before slicing.
Notes
- If the dough feels sticky, add flour one tablespoon at a time.
- For a softer crust, brush with melted butter right after baking.
- Freezing slices works well – thaw in toaster or oven for best texture.
Nutrition Facts
Servings 10
Serving Size 1 slice
- Amount Per Serving
- Calories 205kcal
- % Daily Value *
- Total Fat 4.5g7%
- Saturated Fat 1.5g8%
- Cholesterol 5mg2%
- Sodium 270mg12%
- Total Carbohydrate 37g13%
- Dietary Fiber 2g8%
- Sugars 5g
- Protein 6g12%
- Vitamin A 150 IU
- Vitamin C 0.05 mg
- Calcium 40 mg
- Iron 2.1 mg
- Vitamin D 12 IU
* Percent Daily Values are based on a 2,000‑calorie diet, and your daily needs may be higher or lower depending on your lifestyle. Nutrition information is shared only as a general estimate and may not always be fully accurate. If you follow a special diet or have specific health concerns, it’s best to check with a registered dietitian for personalized guidance.