So, I wanted to tell you about this recipe called Perfect Homemade French Bread because it really surprised me with how doable it is. The bread looks like something you’d buy from a bakery, but when I tried it at home, I realized it doesn’t actually take much effort. The steps are spread out, so you only spend a little time here and there, and most of the waiting is just letting the dough rise.
And the nice part is that this bread works for almost any meal. I’ve had it warm with butter for breakfast, used it to make sandwiches at lunch, and even served it alongside soup at dinner. It feels versatile without being complicated, and that’s why I thought it’s worth sharing. Now, before we get into the details, let’s talk about what Perfect Homemade French Bread really is.
What is French Bread?
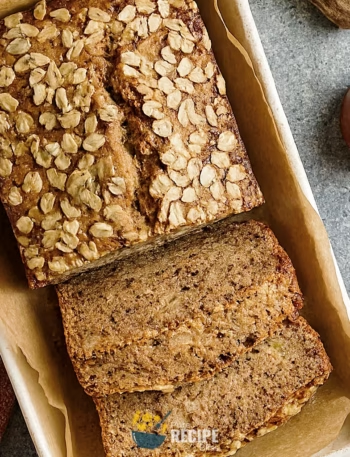
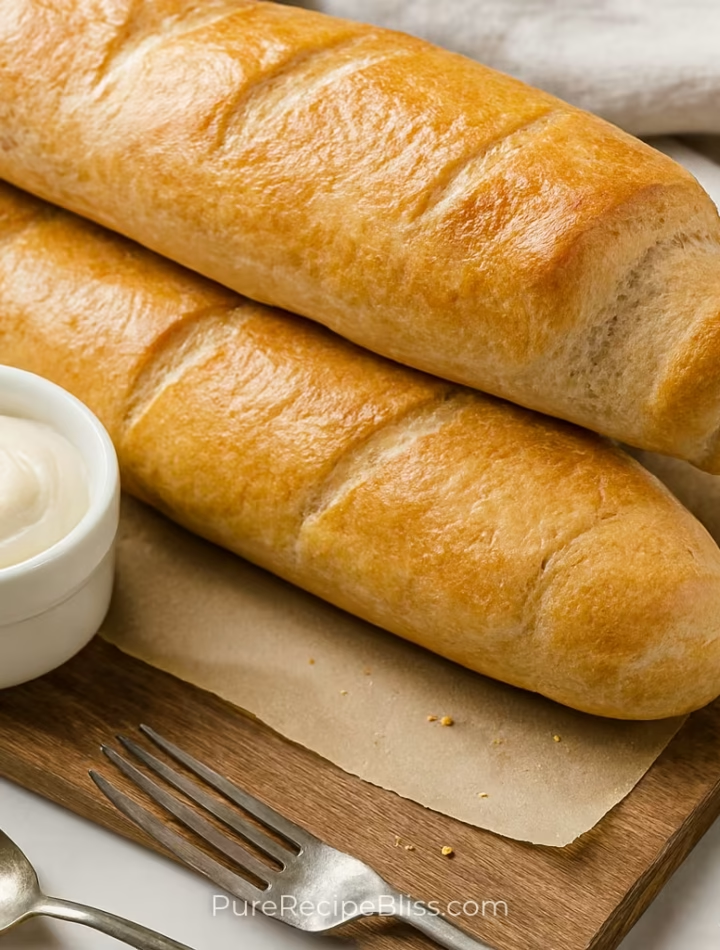
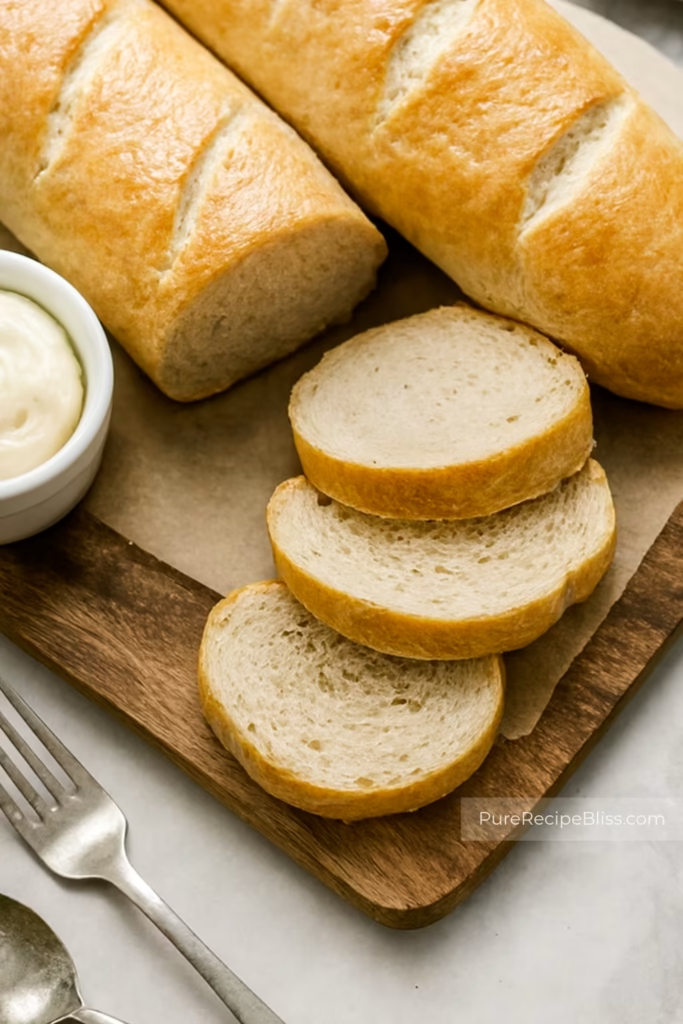
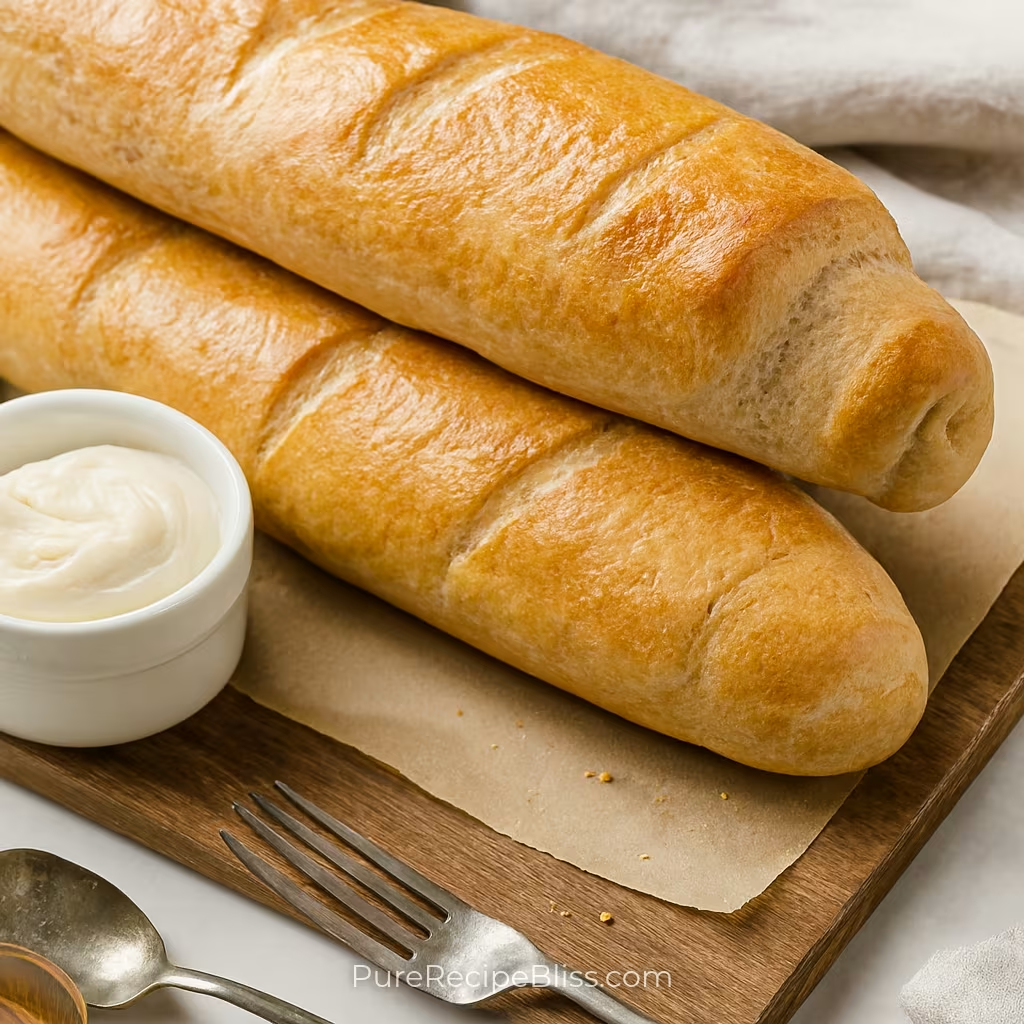
It’s basically that long, golden loaf you often see in bakeries. It has a chewy crust on the outside and a soft, airy inside that makes it different from regular sandwich bread. The shape is usually stretched out and narrow, which gives it that classic French look.
People usually eat this bread in a lot of different ways. It’s common to slice it and serve with butter, or dip it into soups and stews because it holds up well without falling apart. It’s also used for sandwiches, especially when you want something with a bit of crunch on the outside.
Culturally, French bread is one of those everyday staples in France, but at home it just feels like a versatile loaf you can use for breakfast, lunch, or dinner. That’s why I like keeping this recipe handy as it fits into almost any meal without much fuss.
Why You’ll Love This Recipe:
It has a few things that make it worth trying, and I’ll explain them one by one because each point really helps you see why it’s practical.
Easy timing: The recipe looks long because of the rising time, but most of that is just waiting, so you only spend a few minutes here and there. I found that I could do other things in between, which made it feel less demanding.
Simple ingredients: Everything you need is very basic, like flour, yeast, water, salt, and an egg. I didn’t have to run to the store, and that made it easier to start right away.
Flexible texture: Depending on how much flour you add, the bread can turn out slightly softer or a bit chewier. I once added less flour by accident, and the bread was lighter, which I actually liked.
Beginner-friendly: Even if you haven’t baked bread before, this one doesn’t require tricky steps. The dough shows you when it’s ready because it feels tacky but not sticky, and that’s a clear sign to move forward.
Works for any meal: I’ve had slices with butter in the morning, used it for sandwiches at lunch, and served it with soup at dinner. It fits into different meals without needing adjustments.
Personal note: One small thing I learned is that scoring the bread with a sharp blade makes a big difference. The first time I pressed too hard, the loaf looked uneven, but when I kept the cuts shallow, the bread baked evenly and looked much nicer.
Ingredients Needed:
The ingredients are really straightforward, and each one has a simple role in making the bread turn out the way it should.
- Yeast – this is what makes the dough rise and gives the bread its light texture.
- Warm water – it helps activate the yeast and also brings the dough together.
- Salt – this adds flavor and keeps the bread from tasting flat.
- Flour – this is the main structure of the bread, and depending on how much you add, the texture can be softer or chewier.
- Egg – this is brushed on top before baking to give the crust a nice golden color.
One small note from my own try: I noticed that if the water is too hot, the yeast doesn’t work properly, so keeping it just warm is important. Also, I once skipped the egg wash, and the bread still tasted fine, but the crust looked pale instead of golden.
💡 Note: For the full ingredient list with exact amounts and measurements, please check the recipe card below.
Step-By-Step Instructions to Make French Bread:
When I first tried the recipe, one small thing I learned was that the dough really tells you what it needs. The first time I made it, I added too much flour, and instead of throwing it away, I just let the dough rest longer. It softened up and turned out fine, so I realized that bread is more forgiving than I thought.
Step 1: Mixing the Dough
Start by combining the yeast, warm water, salt, and flour in a mixing bowl. At first, the dough will look rough and uneven, but as you keep mixing, it should start pulling together into one piece. The dough should feel tacky when you touch it, but not sticky enough to cling to your fingers. If it feels too sticky, add a little more flour slowly. I once rushed this part and dumped in extra flour too quickly, and the bread ended up dense, so it’s better to go slow.
Step 2: First Rise
Transfer the dough into a lightly greased bowl and cover it with a towel. This is the stage where the yeast does most of the work. The dough should puff up and look airy, almost like it’s breathing. Don’t worry if it takes longer sometimes — I noticed on cooler days it rises slower, but it still works out fine. The important thing is that it doubles in size, which means the yeast is active.
Step 3: Shaping the Loaves
Once the dough has risen, divide it into two parts and roll each into a rectangle. Then roll it tightly from the long side to form the loaf shape. This rolling helps create layers inside, which makes the bread softer when baked. I once rolled it loosely, and the bread spread out too much, so keeping it tight is better. Place the loaves on a baking sheet or a French bread pan, leaving space between them so they don’t stick together.
Step 4: Second Rise
Cover the shaped loaves and let them rise again. This second rise is shorter, but it’s important because it gives the bread its final shape. The loaves should look fuller and slightly puffy. If you skip this step, the bread will bake flat and heavy. I once tried baking right after shaping, and the crust was fine, but the inside was dense, so now I always wait for this rise.
Step 5: Scoring and Egg Wash
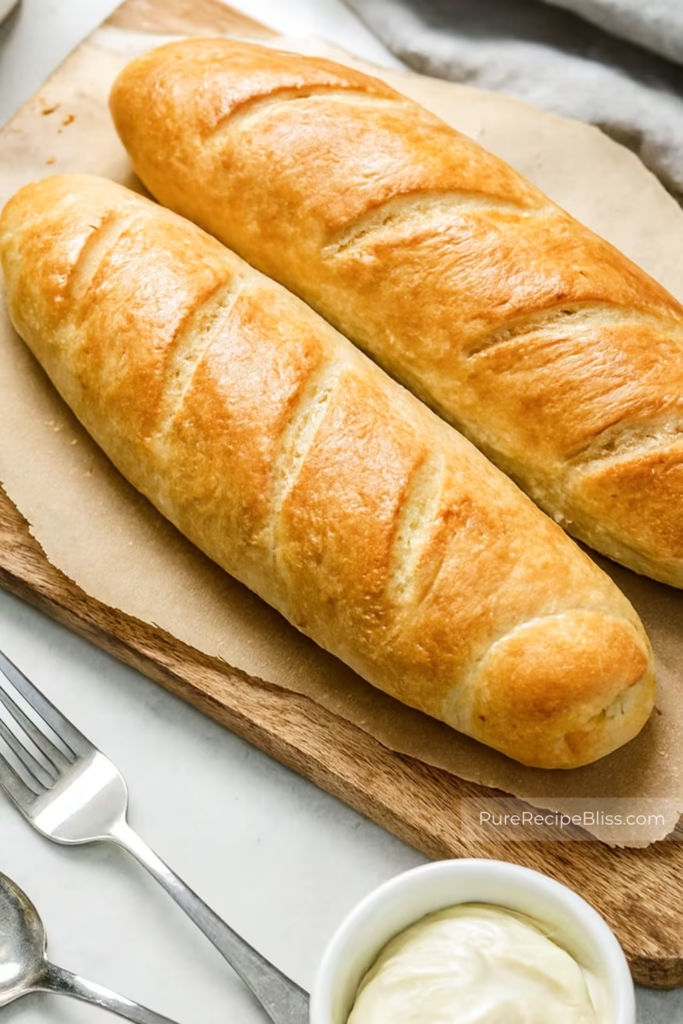
Use a sharp knife or razor blade to make shallow diagonal cuts on top of each loaf. These cuts allow the bread to expand evenly in the oven. If you press too hard, the loaf may deflate, so keep the cuts light. After scoring, brush the tops with beaten egg. This step gives the crust a shiny golden finish. I once skipped the egg wash, and the bread tasted fine but looked pale, so now I always include it.
Step 6: Baking the Bread
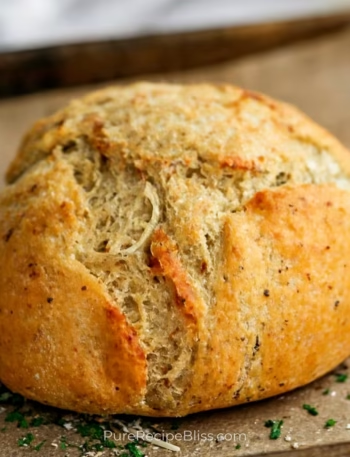
Place the loaves in the oven and bake until the crust turns golden brown and makes a light crackling sound when tapped. The kitchen will smell warm and slightly nutty, which is a good sign it’s almost ready. Once baked, transfer the loaves to a wire rack to cool. Cooling helps the inside set properly, so don’t slice too early. I once cut into it while it was still hot, and the inside looked gummy, so waiting a bit makes a big difference.
That’s the full process. Each stage has its own role, and even small adjustments can change the texture or look of the bread.
💡 Note: These steps are just an overview. For detailed quantities, measurements, and exact timings to make this recipe, please check the recipe card below.
Helpful Tips For The Best Results:
When I was making the recipe, I noticed a few small things that can really prevent mistakes and make the bread turn out better.
Egg wash note: If you skip the egg wash, the bread will taste fine but look pale. I prefer brushing it because the golden crust looks more appetizing.
Texture check: The dough should feel tacky but not sticky. If it clings too much to your fingers, add a little flour slowly. I once added too much at once, and the bread ended up heavy.
Heat control: Keep the oven steady and don’t open the door too often. I opened mine halfway once, and the crust didn’t brown evenly.
Ingredient swap: Bread flour can be used instead of all-purpose flour if you want a chewier texture. I tried both, and the difference is noticeable but not dramatic.
Scoring tip: Use a sharp blade and keep the cuts shallow. Pressing too hard can deflate the loaf.
Tasty Variations to Try:
So, the nice thing about French Bread is that you can change it up a little depending on what you like or what you have at home.
- Garlic butter loaf: Spread garlic butter on top before baking for extra flavor.
- Herb crust: Sprinkle dried rosemary or thyme on the egg wash for a fragrant crust.
- Cheese twist: Add shredded cheese inside while rolling the dough for a cheesy center.
- Whole wheat option: Swap part of the flour with whole wheat flour for a nuttier taste.
- Seasonal idea: In colder months, I like adding a pinch of cinnamon to the dough for a subtle warmth.
- Dietary swap: If you want to avoid eggs, you can brush the loaf with milk instead. It won’t be as shiny, but it still gives a nice finish.
Serving Suggestions:
So, it can be served in different ways depending on the meal, and I’ll share a few simple ideas that worked well for me.
- Snack: Slice thin and toast with garlic butter for a quick bite. It’s simple but always tasty.
- Breakfast: Serve with butter or jam while the bread is still slightly warm. It feels filling but not heavy, and I like it with tea.
- Lunch: Perfect for sandwiches, especially with ham, cheese, or grilled vegetables. The crust adds a nice crunch.
- Dinner: Pairs well with soups or stews because the bread holds up when dipped. I often use it with tomato soup.
Storage & Reheating Tips:
So, I found a few simple ways to keep it fresh and make it taste good again later.
- How long it keeps: The bread usually stays good for two to three days at room temperature, but after that it starts to go stale.
- Best storage method: Wrap it loosely in a clean towel or keep it in a bread box so it doesn’t dry out too quickly. Plastic bags make the crust soft, which I don’t prefer.
- Simple reheating advice: Warm slices in the oven for a few minutes until the crust feels crisp again. I tried microwaving once, but it made the bread chewy, so the oven works better.
Frequently Asked Questions (FAQ):
-
Can I substitute flours?
Yes, you can use bread flour instead of all-purpose if you want a chewier texture, but I’ve tried both and they both work fine.
-
Can I make it ahead?
You can prepare the dough and let it rise in the fridge overnight, but just remember to bring it back to room temperature before baking.
-
Why is my bread dense?
Usually it means too much flour or not enough rising time. I once rushed the second rise, and the bread came out heavy.
-
Is it okay for dietary concerns?
The recipe does use an egg for brushing, but you can swap it with milk if you want to avoid eggs.
French Bread
Description
French Bread is a simple bakery-style loaf you can make at home. It has a chewy crust and a soft inside, and it works for breakfast, lunch, or dinner. The steps are spread out with resting times, so you don’t spend too long in the kitchen, and the result is a versatile bread that pairs well with butter, soups, or sandwiches.
Ingredients
Instructions
- In a stand mixer bowl, add 1 ½ tablespoons instant dry yeast and 2 cups warm water (100–110℉). Mix gently until the yeast dissolves.
- Add 1 ½ teaspoons salt and about 4 cups all-purpose flour. Mix on low speed until combined, then increase to medium speed. Gradually add up to 1 additional cup flour until the dough pulls away from the sides of the bowl. Dough should feel tacky but not sticky.
- Transfer the dough to a lightly greased bowl, cover with a towel, and let rise until doubled in size (about 1 hour).
- Divide the dough into 2 equal portions. Roll each into a rectangle, then roll tightly from the long side to form loaves. Place on a greased baking sheet or French bread pan. Cover and let rise again for 30-45 minutes.
- Preheat oven to 375℉ (190℃). Score each loaf with shallow diagonal cuts using a sharp knife. Brush tops with 1 beaten egg.
- Bake for 35-40 minutes until golden brown and crust crackles lightly when tapped. Cool on a wire rack before slicing.
Notes
- If dough feels sticky, add flour slowly in small amounts rather than all at once.
- Skipping the egg wash will still taste fine, but the crust will look pale instead of golden.
- Cooler kitchens may need longer rising times, so don’t rush the process.
Nutrition Facts
Servings 2
Serving Size 1 loaf
- Amount Per Serving
- Calories 1406kcal
- % Daily Value *
- Total Fat 5g8%
- Saturated Fat 1g5%
- Cholesterol 81mg27%
- Sodium 1796mg75%
- Potassium 460mg14%
- Total Carbohydrate 287g96%
- Dietary Fiber 10g40%
- Sugars 1g
- Protein 42g84%
- Vitamin A 120 IU
- Calcium 76 mg
- Iron 17.8 mg
* Percent Daily Values are based on a 2,000‑calorie diet, and your daily needs may be higher or lower depending on your lifestyle. Nutrition information is shared only as a general estimate and may not always be fully accurate. If you follow a special diet or have specific health concerns, it’s best to check with a registered dietitian for personalized guidance.