I wanted to share my homemade teriyaki sauce recipe because it’s one of those quick little things that makes cooking feel easier. It only takes a few minutes to put together, and once you have it ready, you can use it in so many ways without much effort.
For me, it works best when I’m planning lunch or dinner, since it pairs nicely with meats, vegetables, or even fish. I’ve also used it as a dipping sauce when I wanted something extra with a snack, and it always feels handy to keep a jar in the fridge.
What is Homemade Teriyaki Sauce?
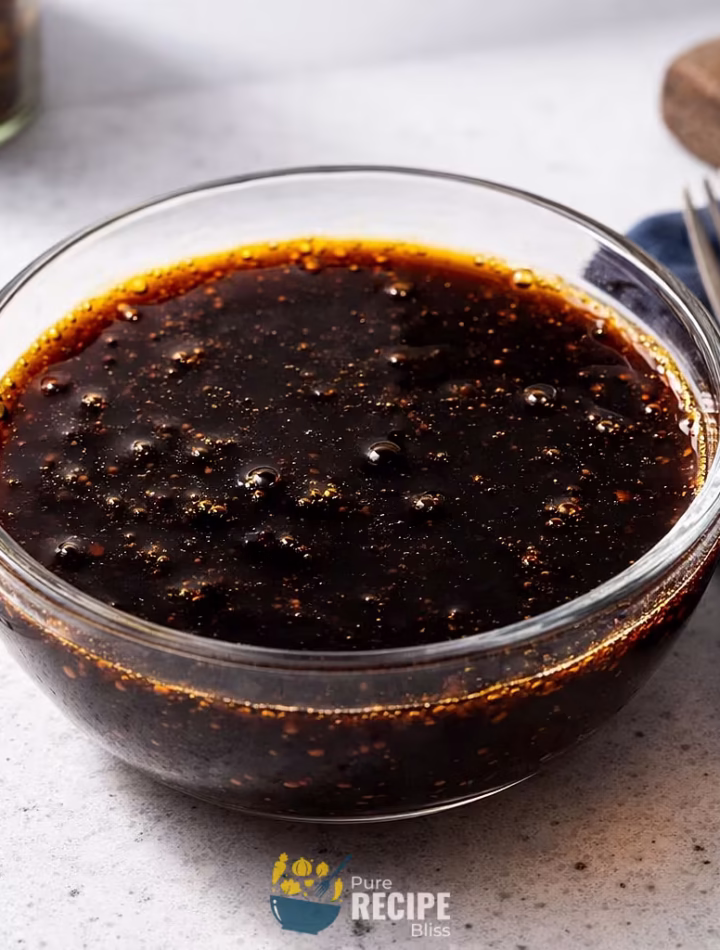
Teriyaki sauce is a Japanese-style glaze that mixes soy sauce, sugar, mirin, and ginger into a shiny, flavorful coating. It’s not just a dipping sauce — it’s mainly used while cooking, brushed or poured over food so it caramelizes and sticks nicely.
You’ll see it most often with grilled meats like chicken or pork, but it also works with fish, roasted vegetables, or even as a light drizzle over rice. The sweet and salty balance makes it versatile, and that’s why it shows up in so many different dishes.
In Japanese cooking, the word “teriyaki” actually refers to the method of grilling or broiling while adding layers of sauce, so the shine and flavor build up as the food cooks. That’s what gives it that classic look and taste.
Why You’ll Love This Recipe:
- Quick to make: The homemade teriyaki sauce only takes a few minutes on the stove, so you don’t need to plan ahead or spend a lot of time waiting.
- Easy to adjust: You can make it sweeter, saltier, or more gingery depending on what you like, and that makes it feel more personal compared to store-bought bottles.
- Works with many foods: I’ve used it on chicken, pork, fish, and even roasted vegetables, and it always adds that shiny glaze and balanced flavor.
- Better control of ingredients: Since you’re making it yourself, you know exactly what goes in, and you can skip things like preservatives or extra additives.
- Handy for meal prep: I usually keep a jar in the fridge, and it’s nice to have ready when I want to quickly add flavor to lunch or dinner without starting from scratch.
Ingredients Needed:
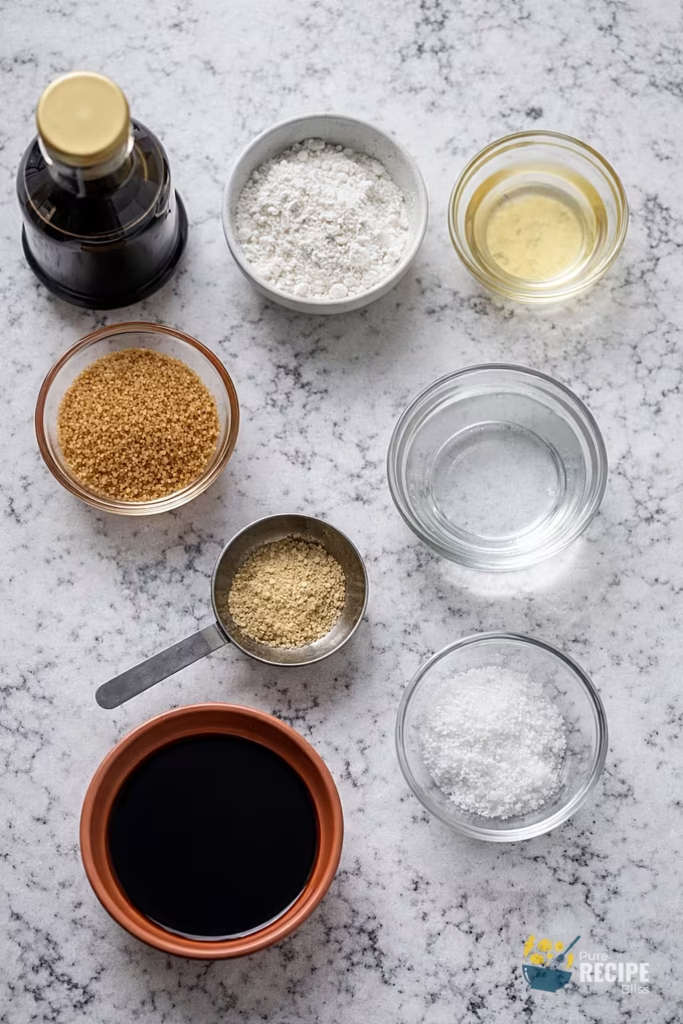
- Soy sauce: You’ll want a naturally brewed soy sauce because it gives a deeper flavor, and I’ve noticed that cheaper ones can taste too salty without much richness.
- Brown sugar: I usually go with brown sugar since it adds a bit of depth, but if you only have white sugar, that works too. I once tried honey instead, and it gave a softer sweetness that was nice for glazing chicken.
- Ginger: Fresh ginger makes the sauce brighter, but powdered ginger is fine if that’s what you have. Just make sure to chop fresh ginger really small or blend it in, otherwise little bits can burn when cooking.
- Mirin or substitute: Mirin is traditional, but if you can’t find it, a semi-sweet white wine works. I’ve tried both, and while mirin has a smoother sweetness, the wine still does the job.
- Water: This just helps balance everything out and keeps the sauce from being too strong.
- Cornstarch or xanthan gum: Cornstarch is easy to use and thickens quickly, but xanthan gum makes the sauce cling better to food. I switch between them depending on whether I’m grilling or just using it as a dip.
💡 Note: For the full ingredient list with exact amounts and measurements, please check the recipe card below.
Kitchen Gadgets & Tools You’ll Need:
- Small saucepan: You’ll need a saucepan to simmer everything together, and I’ve found that using a smaller one helps the sauce thicken faster and stay easy to whisk.
- Whisk: A whisk is important because it keeps the sugar from sticking at the bottom and helps the slurry mix in smoothly. I once tried using a spoon, and the sauce ended up lumpy, so whisking really makes a difference. I use KitchenAid’s whisk that I bought from Amazon.
- Measuring cups or kitchen scale: It’s easier to get the right balance of sweet and salty when you measure properly. I sometimes use a scale because it feels more accurate, but cups work fine too.
- Jar or container with lid: After cooking, you’ll want to store the sauce in something airtight. I usually keep mine in a glass jar in the fridge, and it stays fresh for weeks.
- Blender (optional): If you’re using fresh ginger, blending the sauce at the end makes it smoother. I’ve skipped this step before, and the little ginger bits burned on the grill, so blending is worth it.
Step-By-Step Instructions to Make Homemade Teriyaki Sauce:
The sauce thickens faster than you expect, so it’s better to keep whisking the whole time instead of stepping away. That way it stays smooth and glossy instead of turning clumpy.
Step 1: Combine the base ingredients
Start by adding soy sauce, sugar, ginger, water, and mirin into a small saucepan. Keep the heat low at first so the sugar dissolves gently. You’ll notice the mixture looks thin and dark at this stage.
Step 2: Bring to a gentle simmer
Turn the heat up just enough for small bubbles to form. Whisk slowly so everything blends evenly. The smell of ginger and soy will start to come through, and the liquid should look slightly shiny.
Step 3: Add thickener carefully
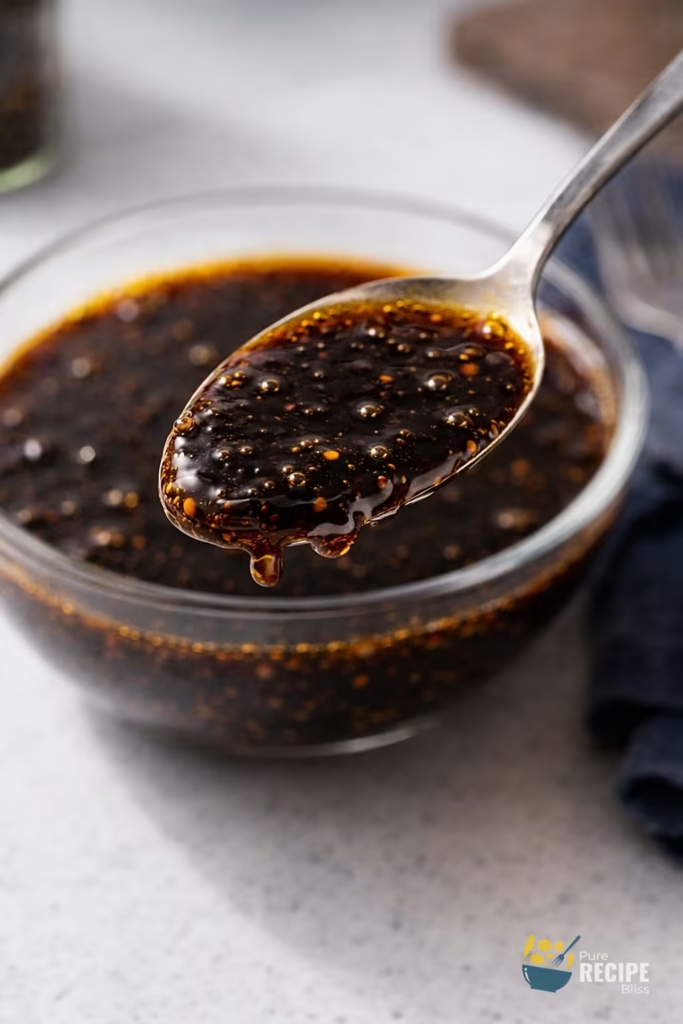
If you’re using cornstarch, mix it with a little water first to make a slurry, then pour it in while whisking. If you’re using xanthan gum, sprinkle it in and blend until smooth. The sauce should start to coat the back of a spoon, which is the sign it’s thick enough.
Step 4: Adjust and finish
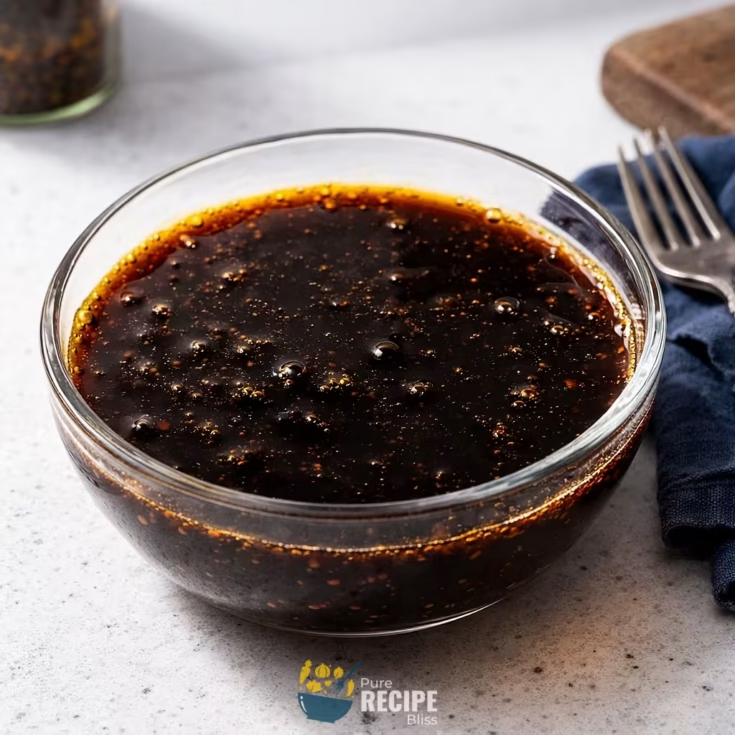
Taste the sauce and decide if you want more sweetness or ginger. If it feels too strong, add a splash of water. Keep whisking until it looks glossy and smooth. Once it cools a little, transfer it into a jar with a lid.
💡 Note: These steps are just an overview. For detailed quantities, measurements, and exact timings to make this recipe, please check the recipe card below.
Helpful Tips For The Best Results:
- Control the heat: Keep the saucepan at a gentle simmer instead of boiling hard, because too much heat can make the sugar burn and the sauce taste bitter.
- Watch the texture: Keep whisking until the sauce looks glossy and coats the back of a spoon. If it feels too thick, add a splash of water to loosen it.
- Choose your ginger wisely: Fresh ginger gives a sharper flavor, but powdered ginger blends more smoothly. I usually blend fresh ginger into the sauce so it doesn’t leave little bits that burn later.
- Swap the thickener if needed: Cornstarch is easy to use, but xanthan gum makes the sauce cling better to grilled foods. I switch depending on whether I’m glazing or dipping.
- Taste before storing: I always taste the sauce before pouring it into a jar, because sometimes it needs a touch more sugar or soy to balance.
Tasty Variations to Try:
- Honey teriyaki: Replace the sugar with honey for a softer sweetness that works well with chicken or salmon.
- Garlic twist: Even though traditional teriyaki doesn’t use garlic, I’ve tried adding a small amount for a stronger flavor when serving with beef.
- Low-sodium option: Use a lighter soy sauce if you want to cut down on salt but still keep the umami taste.
- Spicy kick: Add a pinch of chili flakes or a splash of hot sauce if you like a little heat in your glaze.
- Seasonal swap: In colder months, I sometimes add a tiny bit of orange zest for a fresh note that pairs nicely with roasted vegetables.
- Vegetarian-friendly dip: Thin the sauce with water and use it as a dipping sauce for tofu or steamed greens.
Serving Suggestions:
1. Grilled meats:
Serve with chicken, pork, or beef while grilling, because the sauce sticks well and gives a shiny glaze.
2. Seafood:
Perfect for baked salmon or seared tuna, since the sweet-salty flavor pairs well with fish.
3. Vegetables:
Pairs well with roasted broccoli, bok choy, or eggplant, especially when you drizzle the sauce at the end.
4. Rice and noodles:
Serve with plain rice or stir-fried noodles to add flavor without needing extra seasoning.
5. Snacks and dips:
Works as a dipping sauce for dumplings, sushi, or even raw veggies when you want something different.
Storage & Reheating Tips:
- Best storage method: Keep homemade teriyaki sauce in a clean glass jar or airtight container in the fridge. I usually store mine in a small jar because it seals better and keeps the flavor fresh.
- How long it keeps: The sauce stays good for several weeks when refrigerated. I’ve noticed it holds its shine and taste well, so there’s no need to freeze it unless you really want to.
- Simple reheating advice: When you’re ready to use it again, just warm it gently in a small pan over low heat. Stir while heating so it doesn’t get too thick or stick at the bottom.
Frequently Asked Questions (FAQ):
-
Can I substitute mirin?
Yes, if you don’t have mirin, you can use a semi-sweet white wine. I’ve tried it myself, and while the flavor is slightly different, it still works well in homemade teriyaki sauce.
-
Can I make it ahead of time?
Absolutely, you can prepare the sauce in advance and store it in the fridge. I usually make a batch on the weekend, and it stays good for weeks without losing flavor.
-
Why is my sauce too thick?
This usually happens if too much cornstarch is added or if the heat is too high. Just add a splash of water and whisk until it loosens up again.
-
Is this recipe gluten-free?
Traditional soy sauce contains wheat, so if you need it gluten-free, you can swap in tamari or a certified gluten-free soy sauce.
-
Can I reduce the sugar?
Yes, you can cut the sugar or replace it with honey. I’ve done this before, and it makes the sauce a little lighter but still tasty.
Homemade Teriyaki Sauce
This is my go-to teriyaki sauce that comes together quickly and always tastes better than store-bought. It’s glossy, flavorful, and works with meats, veggies, or even as a dip.
Ingredients
- ½ cup soy sauce (naturally brewed, dark)
- ⅖ cup brown sugar
- 100 g water
- 2 g ground ginger or 6 g finely chopped fresh ginger
- 40 g mirin or semi-sweet white wine
- 18 g cornstarch (or ½ g xanthan gum)
Instructions
- Add ½ cup soy sauce, ⅖ cup brown sugar, 100 g water, 40 g mirin, and 2 g ground ginger (or 6 g finely chopped fresh ginger) into a small saucepan.
- Bring the mixture to a gentle simmer over medium heat while whisking until the sugar dissolves and the liquid looks shiny.
- Mix 18 g cornstarch with 30 g water to make a slurry, then pour it in slowly while whisking. If using ½ g xanthan gum instead, sprinkle directly and blend until smooth.
- Continue whisking until the sauce thickens enough to coat the back of a spoon and looks glossy.
- Taste the sauce and adjust with a little more sugar or soy sauce if needed.
- Transfer the finished sauce into a clean glass jar with a lid and store in the fridge.
Notes
Nutrition Information
Yield 8 Serving Size 50 gAmount Per Serving Calories 68Total Fat 1gSaturated Fat 1gTrans Fat 0gUnsaturated Fat 1gCholesterol 0mgSodium 880mgCarbohydrates 16gNet Carbohydrates 15gFiber 1gSugar 12gProtein 2g
Percent Daily Values are based on a 2,000‑calorie diet, and your daily needs may be higher or lower depending on your lifestyle. Nutrition information is shared only as a general estimate and may not always be fully accurate. If you follow a special diet or have specific health concerns, it’s best to check with a registered dietitian for personalized guidance.