Cheese and Garlic Crack Bread is one of those recipes that you can put together quickly without stressing, because it doesn’t need complicated steps or fancy tools. It’s the kind of dish that works when you want something warm and cheesy but don’t have much time.
It’s best served as a snack or appetizer, and it fits nicely into casual occasions like family dinners, game nights, or even when you just want something simple to share. Now that you know when it’s perfect to make, let’s look at what Cheese and Garlic Crack Bread actually is.
What is Cheese and Garlic Crack Bread?
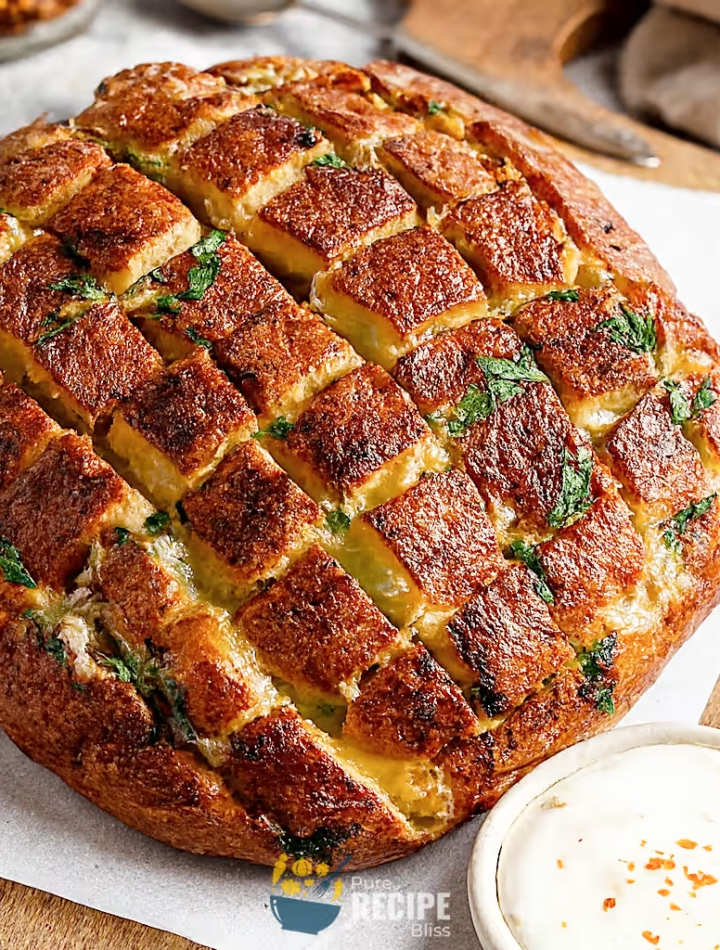
Cheese and Garlic Crack Bread is basically a big loaf of crusty bread that’s sliced in a way that lets you stuff it with garlic, parsley, and a mix of cheeses. The bread is baked until the cheese melts and the flavors come together, and then everyone can pull pieces apart with their hands. That’s why people also call it “pull-apart bread.”
It’s usually served as a fun appetizer or snack, especially when you have friends or family around. The idea is that you put it in the middle of the table, and everyone just grabs a piece. It’s simple, it’s cheesy, and it’s one of those dishes that disappears quickly once you bring it out.
Why You’ll Love This Recipe:
- Easy to prepare: You don’t need any special skills to make Cheese and Garlic Crack Bread, because it’s mostly about slicing the loaf, stuffing it with the mixture, and baking it until the cheese melts.
- Quick baking time: The bread goes into the oven for less than half an hour, so you don’t have to wait long before serving it warm and cheesy.
- Simple ingredients: Everything you need is easy to find in most kitchens or grocery stores, like bread, butter, garlic, parsley, and cheese.
- Perfect for sharing: Since everyone can pull pieces apart, it works really well when you have guests or family around the table.
- Customizable flavors: You can change the herbs or add spices if you want, so it’s flexible depending on what you like.
- Beginner-friendly: Even if you don’t cook often, this recipe is straightforward enough to try without worrying about mistakes.
Ingredients Needed:
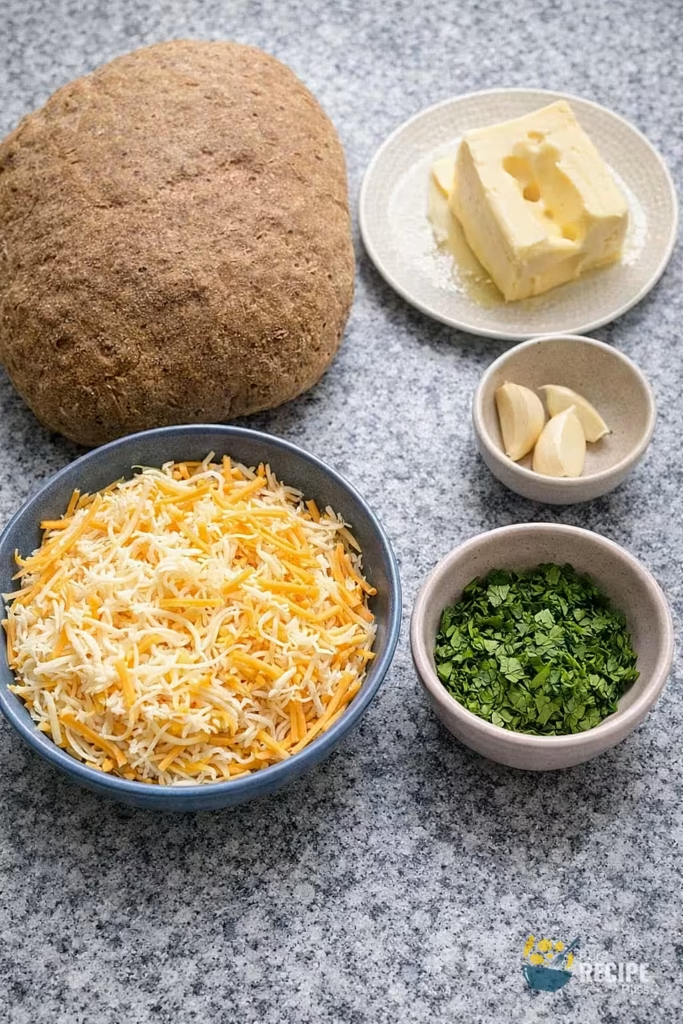
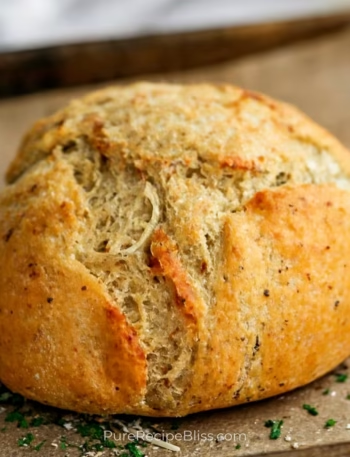
- Bread loaf: You’ll want a large crusty bread loaf, because the texture helps hold the filling and makes the pull-apart pieces more satisfying.
- Butter: Soft salted butter works best, since it mixes easily with garlic and herbs, and it adds flavor to every bite.
- Garlic: Fresh garlic cloves give the bread a strong and tasty flavor, and pressing or mincing them makes sure the flavor spreads evenly.
- Parsley: Chopped fresh parsley adds a little color and freshness, so the bread doesn’t feel too heavy.
- Cheddar cheese: Shredded cheddar brings a sharp and rich flavor, which balances nicely with the garlic and butter.
- Mozzarella cheese: Shredded mozzarella melts smoothly and gives you those stretchy cheese pulls that make the bread fun to eat.
- Optional extras: You can add herbs like oregano or basil, or even a sprinkle of chili flakes if you want a bit of spice.
💡 Note: For the full ingredient list with exact amounts and measurements, please check the recipe card below.
Step-By-Step Instructions to Make Cheese and Garlic Crack Bread:
One small thing I learned while making this recipe at home is that it’s easier if you prepare the butter mixture first, because then you don’t have to stop in the middle of slicing the bread to mix things. It keeps the process smoother and less messy.
Step 1: Slice the bread
Take a large crusty loaf and use a serrated knife to cut it lengthwise, and then cut it again widthwise so you get a checkerboard pattern. Make sure you don’t cut all the way through, because the bread needs to stay together at the bottom.
Step 2: Prepare the butter mixture
Mix soft salted butter with chopped parsley and minced garlic in a bowl. The butter should be soft enough to stir easily but not melted, so it spreads well into the cracks.
Step 3: Add the cheese
Combine shredded cheddar and mozzarella with the butter mixture. Stir until everything looks evenly mixed, and you can see the herbs and garlic spread through the cheese.
Step 4: Stuff the bread
Using your fingers, gently push the mixture into each cut of the bread. It takes a little time, but filling every space makes sure the bread is cheesy and flavorful in every bite.
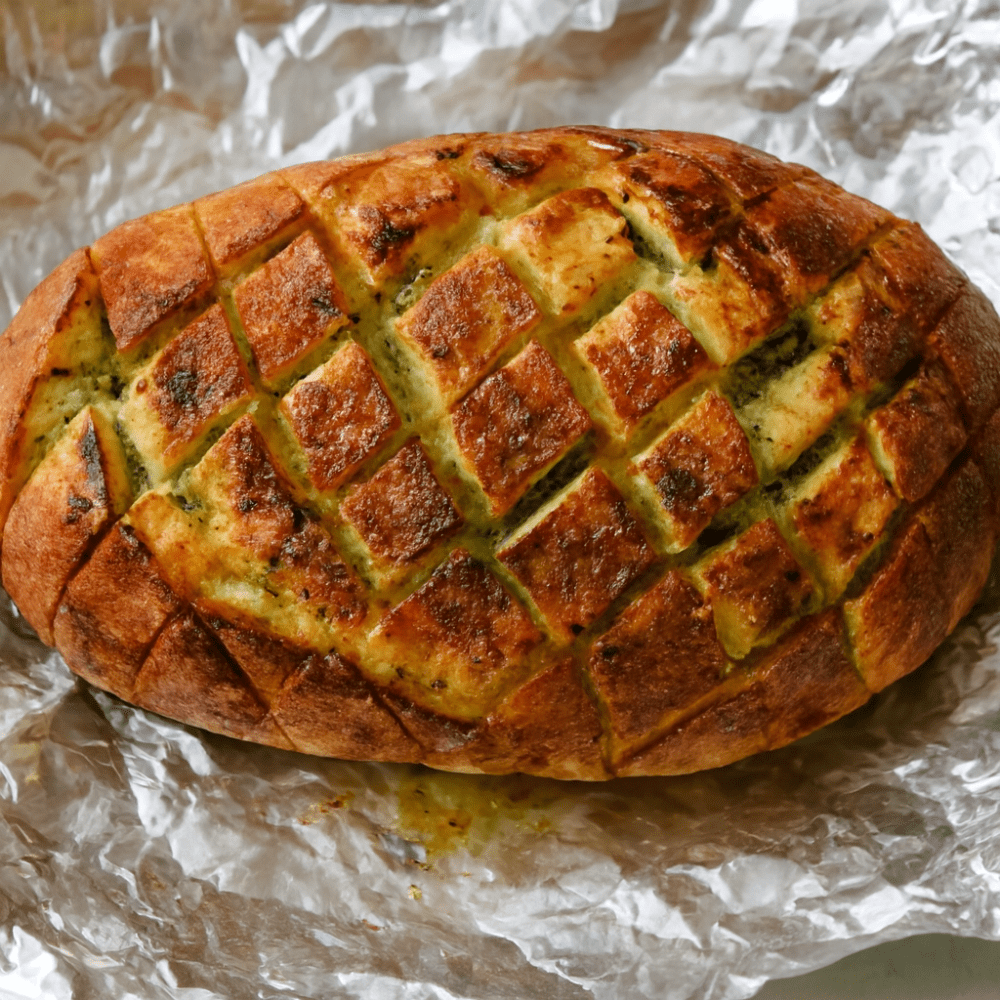
Step 5: Wrap and bake
Wrap the stuffed bread in aluminum foil and place it in the oven. Bake until the cheese melts and the bread feels warm and soft. Then unwrap it for a few minutes so the top gets golden and slightly crisp.
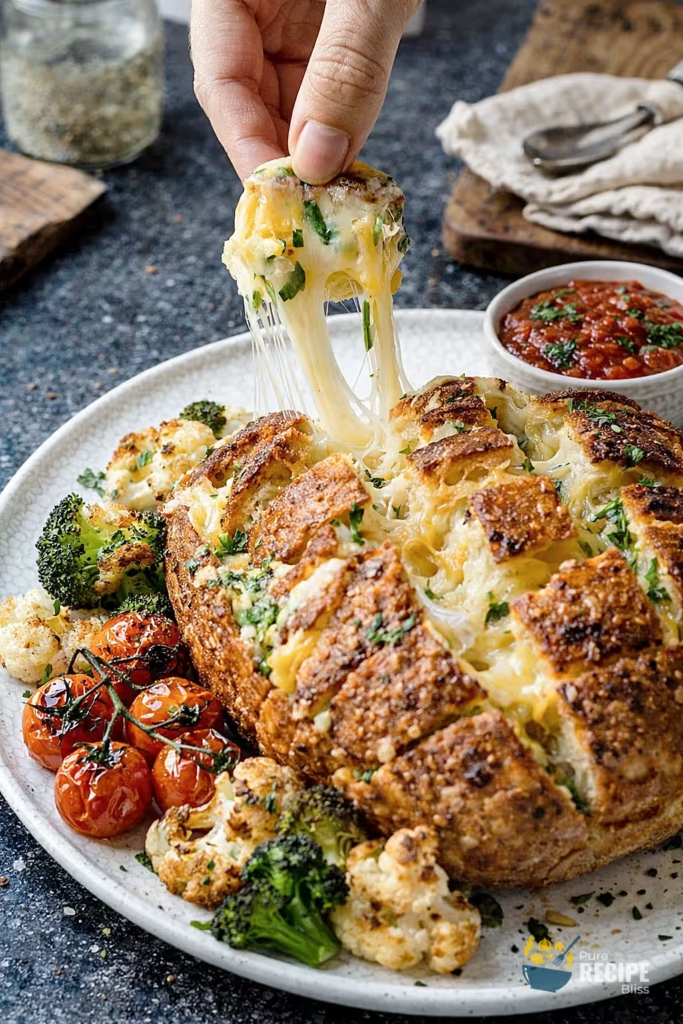
Step 6: Serve and enjoy
Bring the bread straight to the table while it’s hot, and let everyone pull pieces apart. The cheese should be stretchy, and the garlic butter will make the bread smell amazing.
💡 Note: These steps are just an overview. For detailed quantities, measurements, and exact timings to make this recipe, please check the recipe card below.
Helpful Tips For The Best Results:
- Use a serrated knife: A bread knife with a serrated edge makes slicing the loaf much easier, and it helps you avoid crushing the bread while cutting.
- Don’t cut all the way through: Keep the base of the bread intact so the loaf stays together when you bake and serve it. This way, people can pull pieces apart without the bread falling apart completely.
- Control the oven heat: Bake at a steady medium temperature so the cheese melts evenly without burning the crust too quickly. If the top browns too fast, cover it loosely with foil.
- Swap ingredients wisely: If you don’t have cheddar, you can use another sharp cheese like gouda, and if mozzarella isn’t available, try provolone for a similar melt.
- Butter texture matters: Make sure the butter is soft but not melted, because melted butter runs out of the cracks instead of staying inside.
Tasty Variations to Try:
- Herb swap: Instead of parsley, you can use basil, oregano, or chives for a different flavor.
- Spicy version: Add chili flakes or a pinch of cayenne pepper to the butter mixture if you like a little heat.
- Vegan option: Use dairy-free butter and plant-based shredded cheese to make it suitable for vegan diets.
- Seasonal twist: In summer, add fresh basil and a little pesto; in winter, try rosemary or thyme for a cozy flavor.
- Extra cheesy: Mix in a third cheese like parmesan for a sharper taste and more variety in texture.
- Garlic lovers’ version: Roast the garlic before mixing it in, which gives a sweeter and deeper flavor compared to raw garlic.
Serving Suggestions:
1. Perfect for gatherings:
Cheese and Garlic Crack Bread works best when you have friends or family over, because everyone can just pull pieces apart and enjoy it together.
2. Serve with soups:
It pairs really well with warm soups like tomato soup or chicken soup, since the cheesy bread balances the flavors.
3. Movie night snack:
This bread is also perfect for a casual evening at home, because it feels fun to eat while watching something.
4. Pairs with salads:
You can serve it alongside a fresh green salad or even a simple coleslaw to make the meal feel lighter.
5. Great for barbecues:
It fits nicely on the table during a barbecue, since it goes well with grilled meats and vegetables.
Storage & Reheating Tips:
- How long it keeps: Cheese and Garlic Crack Bread stays good for about two to three days in the fridge, but it really tastes best when eaten fresh.
- Best storage method: Wrap the bread tightly in aluminum foil and place it in an airtight container before refrigerating, so it doesn’t dry out too quickly.
- Simple reheating advice: Warm it up in the oven at a medium heat until the cheese melts again and the bread feels soft. If the crust browns too much, cover it loosely with foil while reheating.
Frequently Asked Questions (FAQ):
-
Can I use different cheeses?
Yes, you can swap cheddar for gouda or parmesan, and mozzarella can be replaced with provolone if you want a similar melt.
-
Can I make it ahead of time?
You can prepare the bread with the filling, wrap it in foil, and keep it in the fridge for up to two days before baking.
-
Why does my bread feel soggy?
This usually happens if the butter is melted instead of soft, so make sure it’s just softened to keep the texture right.
-
Is there a vegan option?
Yes, you can use dairy-free butter and plant-based shredded cheese to make Cheese and Garlic Crack Bread suitable for vegan diets.
-
Can I freeze it?
Freezing isn’t ideal because the bread can lose texture, but storing in the fridge works fine for a couple of days.
Cheese and Garlic Crack Bread
Description
Cheese and Garlic Crack Bread is a simple pull-apart bread stuffed with garlic, parsley, and two types of cheese. It’s baked until golden and melty, making it the perfect appetizer or snack to share with friends and family.
Ingredients
Instructions
- Preheat oven to 375°F (190°C).
- Slice 1 large bread loaf lengthwise and widthwise into a checkerboard pattern, keeping the base intact.
- In a bowl, mix ½ cup softened salted butter with 3 minced garlic cloves and 3 tablespoons chopped parsley until combined.
- Add 1 cup shredded mozzarella and 1 cup shredded cheddar to the butter mixture, stirring until evenly mixed.
- Stuff the mixture into each cut of the bread using your fingers, making sure every section is filled.
- Wrap the loaf in aluminum foil and bake for 20 minutes.
- Remove foil and bake for another 5 minutes until the top is golden and the cheese is melted.
- Serve hot and let everyone pull pieces apart at the table.
Notes
- Use a serrated knife to slice the bread easily without crushing it.
- If the top browns too quickly, cover loosely with foil while baking.
- For a lighter version, reduce butter slightly and add extra herbs.
Nutrition Facts
Servings 8
Serving Size 1/8 loaf
- Amount Per Serving
- Calories 300kcal
- % Daily Value *
- Total Fat 27g42%
- Saturated Fat 16g80%
- Trans Fat 0.5g
- Cholesterol 75mg25%
- Sodium 370mg16%
- Potassium 50mg2%
- Total Carbohydrate 4g2%
- Dietary Fiber 0.3g2%
- Sugars 0.6g
- Protein 9g18%
- Vitamin A 950 IU
- Vitamin C 2 mg
- Calcium 220 mg
- Iron 0.4 mg
- Vitamin D 20 IU
* Percent Daily Values are based on a 2,000‑calorie diet, and your daily needs may be higher or lower depending on your lifestyle. Nutrition information is shared only as a general estimate and may not always be fully accurate. If you follow a special diet or have specific health concerns, it’s best to check with a registered dietitian for personalized guidance.