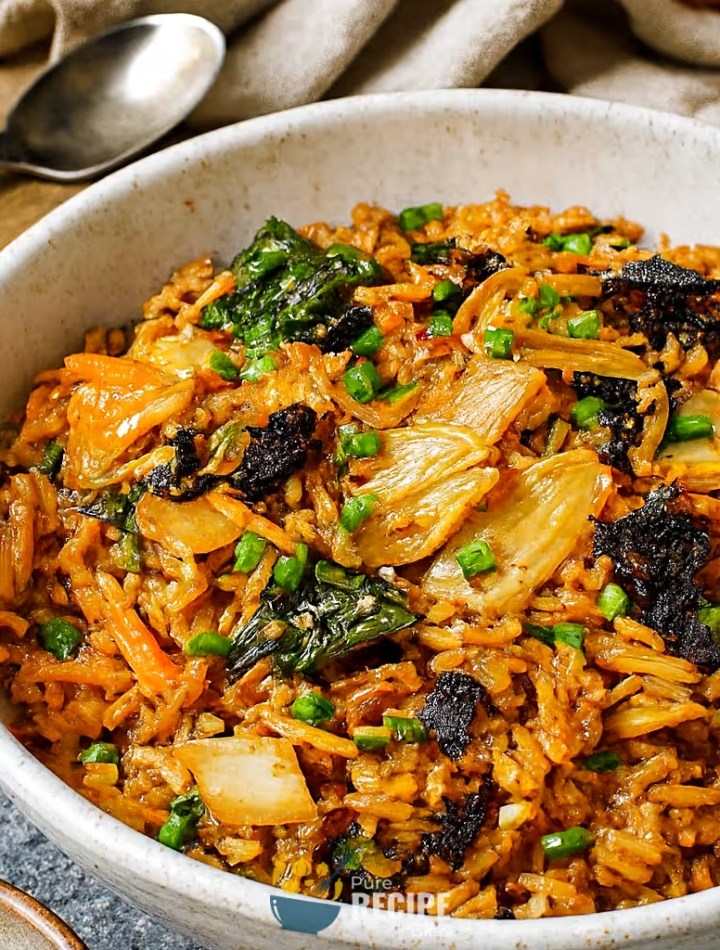
Sometimes I just want a dish that doesn’t take much planning, and Kimchi Fried Rice is exactly that. It’s quick to cook, it uses ingredients that are usually already in the fridge, and it feels satisfying without being complicated.
I usually make it when I need something fast for lunch or dinner, but it also works for breakfast if you add an egg on top. It’s one of those meals that fits into different times of the day, which makes it really handy.
What is Kimchi Fried Rice?
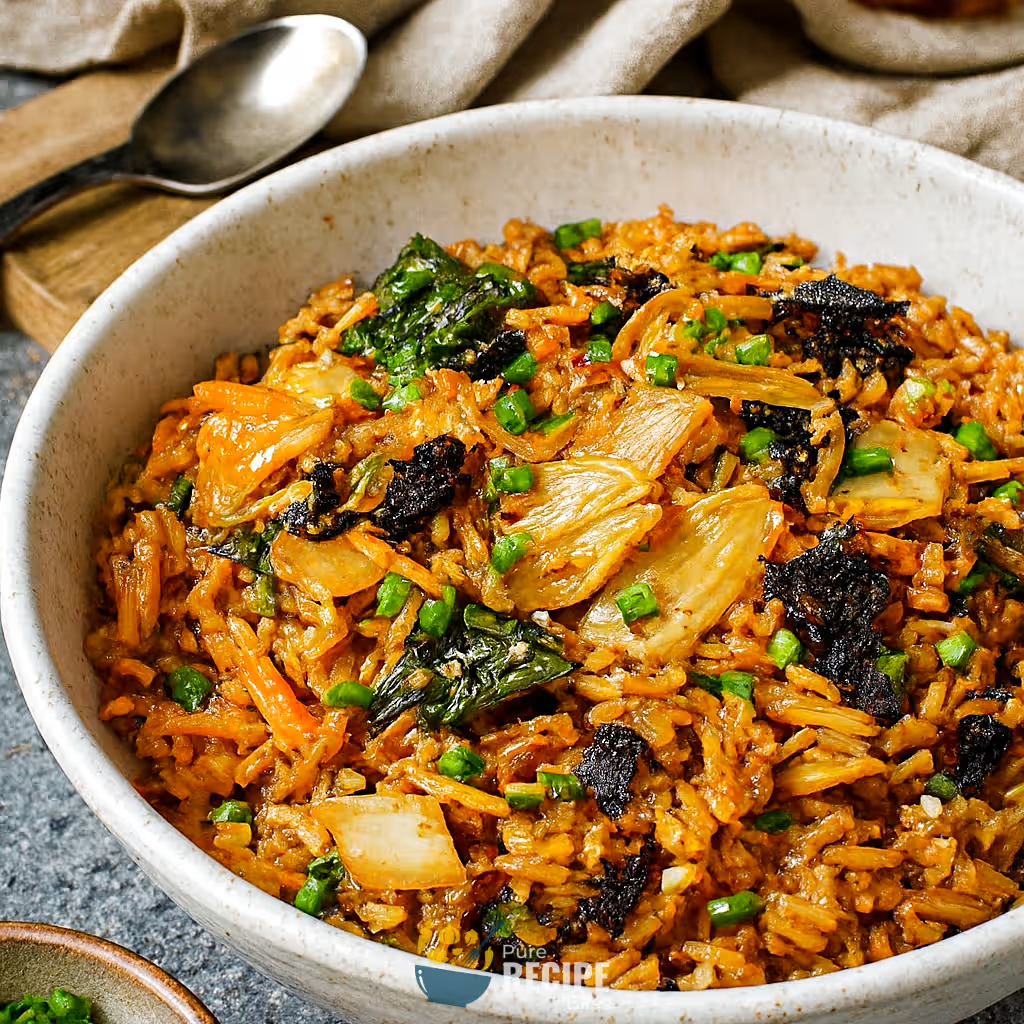
Kimchi Fried Rice is a Korean dish that mixes cooked rice with kimchi and a few seasonings to make something flavorful and filling. It’s usually made with rice that has been sitting overnight because the grains are firmer and easier to stir-fry. The kimchi gives it a tangy and spicy taste, while gochujang and sesame oil add more depth.
It’s commonly eaten as a quick meal on its own, but you’ll also see it served with things like grilled beef, pork, or even a fried egg on top. In Korean homes, it’s one of those go-to comfort foods that uses what you already have in the fridge, which makes it practical and satisfying at the same time.
Why You’ll Love This Recipe:
- Quick to make: Kimchi Fried Rice doesn’t take long at all, and once you have the rice and kimchi ready, the whole dish comes together in just a few minutes, which makes it really convenient when you don’t want to spend too much time cooking.
- Uses what you already have: Since it works best with day-old rice and kimchi that’s been sitting in the fridge, you don’t need to plan ahead too much, and it feels good to use ingredients that might otherwise go to waste.
- Easy to adjust: You can add more spice if you like it hotter, or you can keep it mild if you prefer, and you can also throw in extra vegetables or protein depending on what you have at home.
- Comforting and filling: Even though it’s simple, it has a strong flavor that makes it satisfying, and I’ve noticed that topping it with a fried egg makes it feel more complete and a little extra special.
- Works for any meal: I’ve had it for breakfast with an egg, for lunch when I wanted something quick, and for dinner as a side with grilled meat, so it really fits into different times of the day without feeling out of place.
Ingredients Needed:
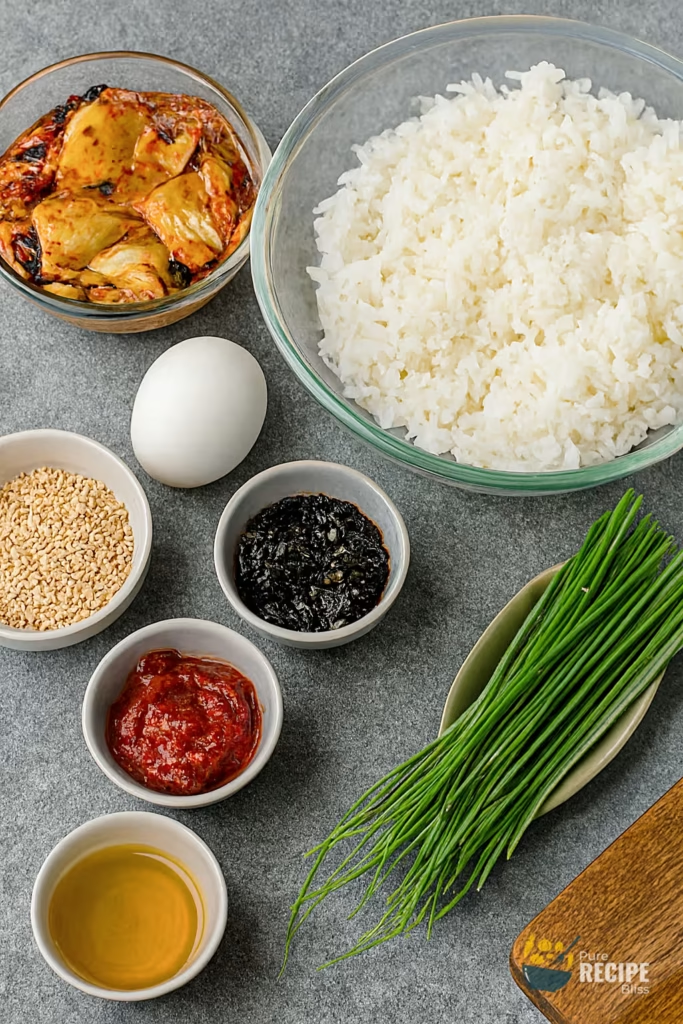
- Rice: You’ll want rice that has been cooked the day before because it turns out less sticky, and it fries better in the pan. If you only have fresh rice, you can spread it out and cool it in the fridge first.
- Kimchi: This is the main flavor in the dish, and the longer it has fermented, the stronger and tangier the taste will be. I usually squeeze out extra liquid before cooking so the rice doesn’t get soggy.
- Gochujang: This chili paste adds a mix of spice and sweetness. I’ve noticed that different brands vary a lot, so I usually taste and adjust the amount as I go.
- Sesame oil and vegetable oil: The vegetable oil helps with cooking at high heat, while the sesame oil gives that nutty aroma. Using both together makes the flavor more balanced.
- Spring onions: These are added at the end for freshness and a little crunch. I like to save some for topping because it makes the dish look nicer too.
- Furikake or roasted seaweed flakes: This adds a salty and crunchy layer. If I don’t have furikake, I just crumble roasted seaweed sheets, and it works fine.
- Sesame seeds (optional): A sprinkle of toasted sesame seeds gives extra texture, but it’s not something you must have every time.
- Fried egg (optional): I often put a fried egg on top because the yolk mixes with the rice and makes it creamier, but it’s completely up to you.
💡 Note: For the full ingredient list with exact amounts and measurements, please check the recipe card below.
Step-By-Step Instructions to Make Kimchi Fried Rice:
One small thing I learned while making this at home is that squeezing the kimchi a little drier before cooking really helps the rice stay fluffy instead of turning soggy. It’s a small detail, but it makes a big difference in the final texture.
Step 1: Prep the kimchi
Chop the kimchi into smaller pieces so it mixes evenly with the rice. I usually cut it lengthwise first and then across to make bite-sized bits. Don’t throw away the liquid and instead, keep it aside because it adds flavor later.
Step 2: Heat the oils
Warm up a mix of vegetable oil and sesame oil in a pan or wok. The vegetable oil helps with cooking at high heat, while the sesame oil gives that nutty aroma that makes the dish smell inviting.
Step 3: Cook the kimchi
Add the chopped kimchi to the hot oil and stir-fry it for a short while. You’ll notice the smell becoming stronger and slightly smoky, which means it’s ready for the rice.
Step 4: Add the rice
Put in the day-old rice and break up any clumps with your spatula. I usually press the rice down gently to separate the grains. Let it sit for a moment so some parts get a little crispy before stirring again.
Step 5: Season with gochujang and kimchi juice
Mix in the reserved kimchi liquid and a spoonful of gochujang. Stir until the rice looks evenly coated and slightly glossy. If it feels too dry, add just a splash of water but go slowly because too much will make it mushy.
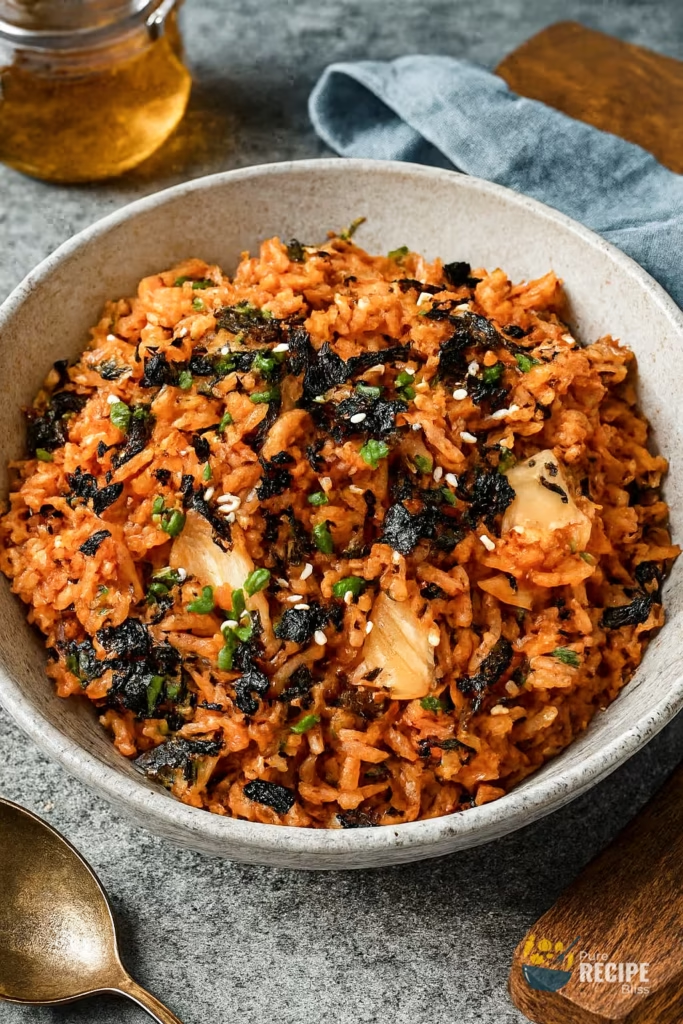
Step 6: Finish with toppings
Turn off the heat and add chopped spring onions, furikake, and sesame seeds. Stir them in gently. If you like, fry an egg separately and place it on top before serving. The yolk blends into the rice and makes it creamier.
💡 Note: These steps are just an overview. For detailed quantities, measurements, and exact timings to make this recipe, please check the recipe card below.
Helpful Tips For The Best Results:
- Texture control: Make sure to squeeze out extra liquid from the kimchi before cooking because too much liquid will make the rice heavy and sticky instead of fluffy.
- Heat management: Keep the pan at medium heat so the rice cooks evenly. If the heat is too high, the bottom burns quickly, and if it’s too low, the rice won’t get that nice fried flavor.
- Rice choice: Day-old rice works best because the grains are firmer. If you only have fresh rice, spread it out on a tray and chill it in the fridge for a while.
- Ingredient swaps: If you don’t have furikake, roasted seaweed sheets crumbled by hand give a similar salty crunch. If gochujang feels too strong, a mix of chili flakes and soy sauce can be used as a lighter alternative.
- Crispy bits trick: Let the rice sit against the pan for a minute before stirring. This creates little crunchy pieces that make the dish more interesting.
Tasty Variations to Try:
- Spam or bacon version: Adding small cubes of spam or bacon gives a smoky and salty flavor that balances the tangy kimchi.
- Seafood option: Shrimp or squid can be tossed in for a lighter but still flavorful variation, and they cook quickly with the rice.
- Vegetarian boost: Diced carrots, bok choy, or crispy tofu make the dish more filling without adding meat, and they blend well with the kimchi taste.
- Extra spicy twist: A sprinkle of chili powder or a drizzle of Sriracha can make the dish hotter if you like more heat.
- Seasonal vegetables: In colder months, I sometimes add broccoli or mushrooms, while in summer, zucchini works well because it cooks fast and adds freshness.
- Egg variations: Instead of a fried egg, you can try a soft-boiled egg or even scrambled eggs mixed directly into the rice for a different texture.
Serving Suggestions:
1. Serve with grilled meat:
Kimchi Fried Rice pairs well with grilled beef or chicken because the smoky flavor balances the tangy kimchi taste.
2. Perfect with a fried egg:
Adding a fried egg on top makes the dish creamier, and the yolk blends nicely with the rice.
3. Pairs well with light sides:
A simple cucumber salad or pickled vegetables works well because it adds freshness and crunch.
4. Good for any meal:
You can enjoy it for breakfast with an egg, for lunch as a main dish, or for dinner as a side with other Korean dishes.
Storage & Reheating Tips:
- How long it keeps: Kimchi Fried Rice usually stays good for about five to seven days in the fridge, as long as you let it cool down first before storing.
- Best storage method: Place the rice in an airtight container so it doesn’t dry out or pick up other smells from the fridge. I sometimes divide it into smaller portions to make reheating easier.
- Simple reheating advice: Warm it up in a pan with a tiny splash of water to bring back moisture. If you’re in a rush, the microwave works too, but the pan gives better texture.
Frequently Asked Questions (FAQ):
-
Can I use fresh rice instead of day-old rice?
Yes, you can, but it helps to spread the rice out on a tray and cool it in the fridge first so the grains firm up and don’t clump together when stir-frying.
-
What if I don’t have gochujang?
You can swap it with chili flakes mixed with a little soy sauce. It won’t taste exactly the same, but it still gives a nice spicy and savory flavor.
-
Can I make Kimchi Fried Rice ahead of time?
Yes, it stores well in the fridge for several days. I usually portion it into containers so it’s easy to reheat for quick meals.
-
Why does my rice turn soggy?
This usually happens if the kimchi has too much liquid or if the rice is too fresh. Squeezing the kimchi and using chilled rice helps keep the texture better.
-
Is this recipe vegetarian-friendly?
Yes, it can be. Just skip the meat add-ins and use tofu or extra vegetables instead. The base recipe itself works fine without any animal protein.
Kimchi Fried Rice
Description
Kimchi Fried Rice is a quick Korean stir-fry dish made with day-old rice, tangy kimchi, and gochujang for a spicy kick. It’s simple to prepare, flexible with toppings, and works well for breakfast, lunch, or dinner.
Ingredients
Notes
- If rice is fresh, spread it on a tray and refrigerate until firm before cooking.
- Adjust gochujang based on spice preference; different brands vary in sweetness and heat.
- For extra crunch, let rice sit against the pan for a minute before stirring.
Nutrition Facts
Servings 4
Serving Size 1 cup
- Amount Per Serving
- Calories 271kcal
- % Daily Value *
- Total Fat 5g8%
- Saturated Fat 1g5%
- Sodium 5mg1%
- Potassium 117mg4%
- Total Carbohydrate 50g17%
- Dietary Fiber 1g4%
- Sugars 1g
- Protein 5g10%
- Vitamin A 99 IU
- Vitamin C 3 mg
- Calcium 43 mg
- Iron 1 mg
* Percent Daily Values are based on a 2,000‑calorie diet, and your daily needs may be higher or lower depending on your lifestyle. Nutrition information is shared only as a general estimate and may not always be fully accurate. If you follow a special diet or have specific health concerns, it’s best to check with a registered dietitian for personalized guidance.